How to Update Win 10 to 11 Step-by-Step for Secure Upgrade
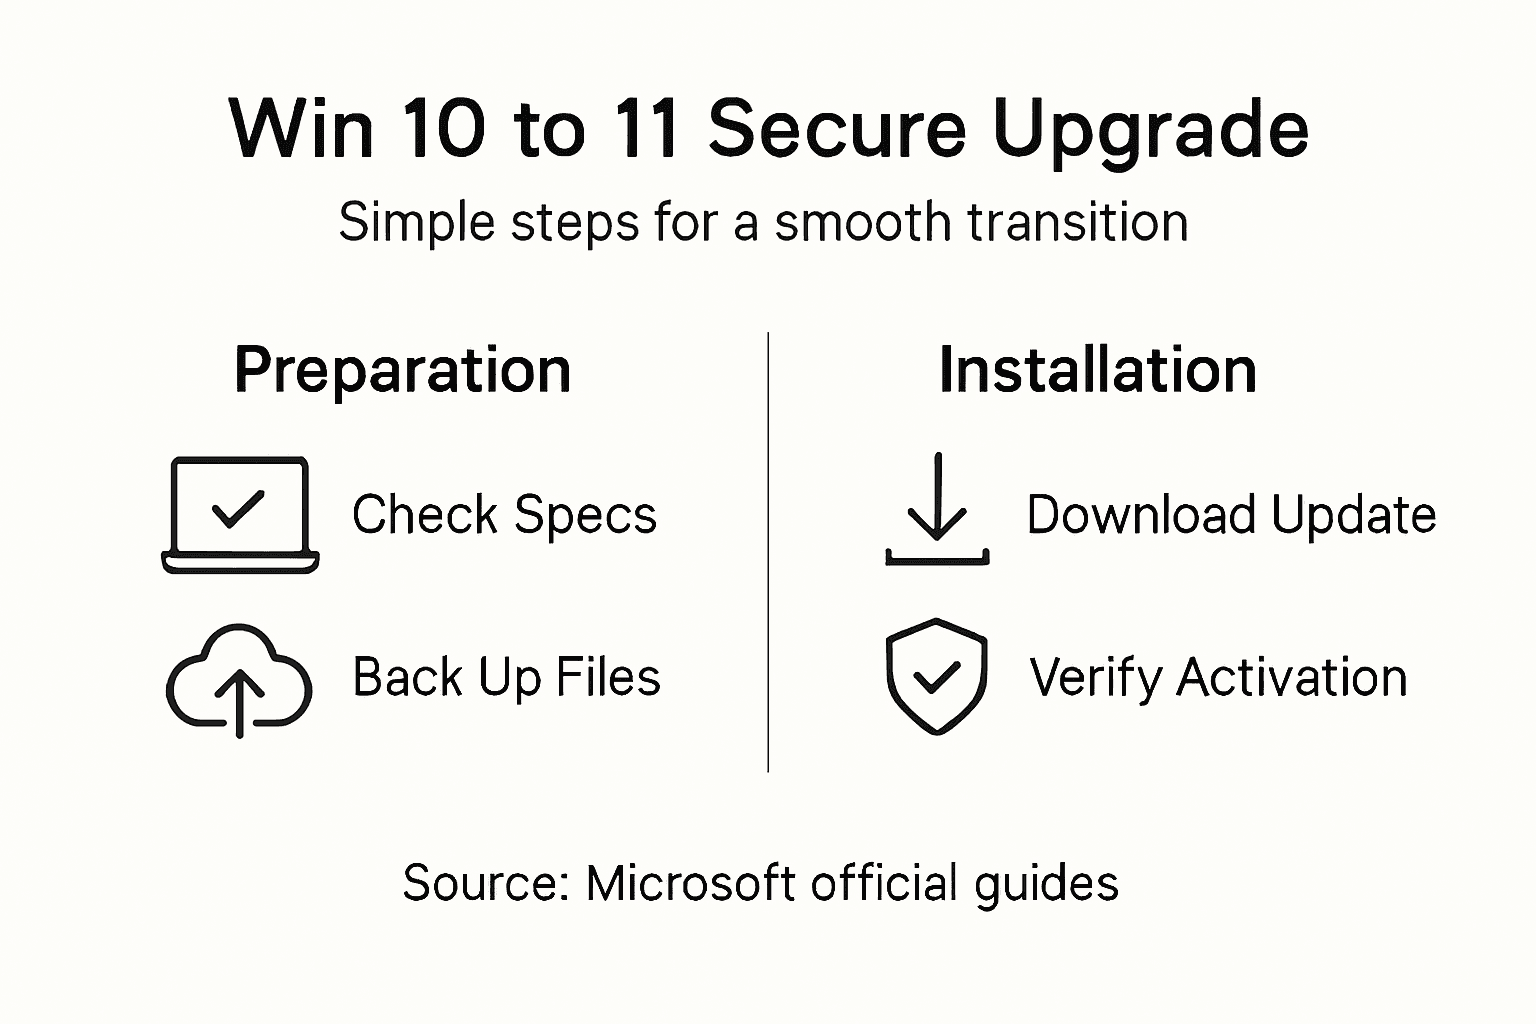
Upgrading from Windows 10 to Windows 11 promises smoother performance, added security, and a fresh modern experience for users everywhere. Still, the journey can be cut short if your hardware misses key requirements or your license status is unclear. By quickly confirming your device’s compatibility and genuine license, you avoid the frustration of failed installations or activation roadblocks. This step-by-step guide shows you how to check your system, secure your files, and upgrade with confidence using only official Microsoft tools.
Table of Contents
- Step 1: Check Windows 11 Compatibility And License Status
- Step 2: Back Up Data And Prepare Your Device For Upgrade
- Step 3: Download And Install The Windows 11 Update
- Step 4: Verify Your Upgrade And Activate Windows 11
Quick Summary
| Key Point | Explanation |
|---|---|
| 1. Verify Compatibility & License | Check if your device meets Windows 11’s hardware requirements and confirm your current Windows license is valid. |
| 2. Back Up Your Data | Use OneDrive or an external drive to back up important files. This prevents data loss during the upgrade process. |
| 3. Use the Installation Assistant | Download and run the Installation Assistant for an automated and smooth Windows 11 installation experience. |
| 4. Confirm Windows Activation | After the installation, verify that Windows 11 is activated to ensure a legitimate and fully functional setup. |
| 5. Link License to Microsoft Account | Linking your digital license to your Microsoft account facilitates easy reactivation if you change hardware or reinstall Windows. |
Step 1: Check Windows 11 Compatibility and License Status
Before you upgrade, you need to verify two critical things: your device meets Windows 11’s hardware requirements, and your current license is valid. This step takes just a few minutes but saves you from failed upgrades or activation problems down the road.
Start by checking your system specifications against Microsoft’s minimum requirements. Your device needs a 64-bit processor with 1 GHz or faster and 2 or more cores, at least 4 GB of RAM, 64 GB of storage space, TPM 2.0 support, UEFI firmware with Secure Boot capability, a DirectX 12 graphics card, and a display with at least 720p resolution. Use the PC Health Check app to quickly determine if your hardware qualifies.
The PC Health Check tool runs automatically and shows you exactly what passes and what fails. It’s the fastest way to spot any incompatibilities before you waste time on the upgrade process. Download it from Microsoft’s official website and run it on your Windows 10 machine.
Next, confirm your Windows 10 license status. You’ll need either a valid product key, a digital entitlement linked to your Microsoft account, or a genuine license to proceed legally with Windows 11. Check your license by opening Settings, navigating to System, then About, and looking for the “Windows activation” section. You can also verify your Windows license key is legitimate before upgrading.
If you see “Windows is activated” with your product key or digital license information, you’re set. If it shows “Not activated” or gives you error messages, you’ll need to address this before upgrading to avoid running into activation issues on Windows 11.
Here’s what you should verify in your system settings:
- Your processor model and generation
- Available RAM and storage space
- TPM version (check in Device Manager under Security Devices)
- BIOS/UEFI settings to confirm Secure Boot support
- Current Windows 10 activation status
Your current Windows 10 product key often transfers directly to Windows 11, but verifying it now prevents activation headaches later.
Pro tip: _If your PC Health Check app shows your TPM version as 1.2 instead of 2.0, you might still be able to upgrade depending on your processor, but contact Microsoft Support first to confirm eligibility before proceeding.
Step 2: Back Up Data and Prepare Your Device for Upgrade
Backing up your files before upgrading to Windows 11 is non-negotiable. A failed upgrade or unexpected issue could cost you important documents, photos, and files. This step protects everything you care about.
You have two solid backup options. The first is using OneDrive, which automatically syncs your Documents, Pictures, and Desktop folders to the cloud as you work. This method requires minimal effort and lets you access files from any device afterward. The second is backing up to an external drive like a USB stick or external hard drive, which gives you full control over which folders you save.
If you choose OneDrive, open Settings and search for “backup.” Select which folders you want backed up and enable cloud backup. Microsoft integrates this directly into Windows, so it runs quietly in the background. Your files remain on your device while also stored securely in the cloud.
For external drive backups, back up files to an external drive by connecting your USB or hard drive, then copying your critical folders. Focus on Documents, Pictures, Desktop, Downloads, and any custom folders containing work or personal files.
While your backup runs, handle these preparation tasks to smooth your upgrade.
- Uninstall programs you no longer use
- Disable antivirus software temporarily (you can reinstall after upgrading)
- Disconnect external devices except your backup drive
- Close all open applications and browser windows
- Connect to a stable internet connection
- Ensure your device has at least 20% battery or plug it in
After backing up and preparing your device, you’re ready to download the Windows 11 installation files. This process typically takes 30 minutes to an hour depending on your internet speed and backup method.
Here’s a comparison of backup methods to help you choose the best option before upgrading:
| Backup Method | Ease of Use | Storage Location | Recovery Speed |
|---|---|---|---|
| OneDrive Cloud | Very easy, automated | Cloud-based, offsite | Instant from any device |
| External Drive | Manual but flexible | Physical drive, onsite | Fast on same computer |
| Dual Backup | Requires planning | Onsite and offsite | High reliability |
Backing up before upgrading is your safety net against data loss from hardware issues, software conflicts, or unexpected failures during the upgrade process.
Pro tip: Create a second backup copy on a different external drive or cloud service if your files are critically important, giving you redundancy in case one backup becomes corrupted.
Step 3: Download and Install the Windows 11 Update
Now it’s time to get Windows 11 onto your device. Microsoft offers multiple methods, but the easiest is using the Installation Assistant, which handles everything automatically. You’ll need a stable internet connection and about an hour of uninterrupted time.

Start by visiting Microsoft’s official Windows 11 download page. You’ll see the Installation Assistant as the recommended option. Download this tool and run it on your Windows 10 device. The Assistant checks your system compatibility one final time, then downloads the Windows 11 files directly to your machine.
The Installation Assistant guides you through the entire process step by step. It displays your device name, edition selection, and language preferences. Review these settings carefully to ensure everything matches your preferences before proceeding.
Once you confirm your settings, the tool begins downloading the Windows 11 installation files. This can take 20 to 40 minutes depending on your internet speed. Your device will need to restart during this process, so save any work before starting.
During installation, your device will restart multiple times. This is normal. When your computer restarts, Windows 11 setup continues automatically in the background. You’ll see progress indicators and setup screens. Do not turn off or unplug your device during this time, as doing so can cause installation failure.
Here’s what happens during the installation process:
- Your device restarts and enters Windows 11 setup mode
- Files are copied and system settings are configured
- Your device restarts again to finalize installation
- Windows 11 boots up for the first time
- You sign in with your Microsoft account
Methods to install Windows 11 include using Windows Update if you prefer automatic installation, though the Installation Assistant gives you more control and visibility. If you encounter issues with the Assistant, the Media Creation Tool lets you create bootable USB media for manual installation on problem devices.
After installation completes, you’ll sign back into your Microsoft account and Windows 11 will restore your files, preferences, and installed programs. This final step ties everything together.
Installation typically takes 45 minutes to two hours total, so plan accordingly and avoid interrupting the process to prevent data corruption or failed upgrades.
Pro tip: Keep your device plugged in throughout the entire installation process to prevent power loss from interrupting the upgrade, which could leave your system in an unstable state.
Step 4: Verify Your Upgrade and Activate Windows 11
Your Windows 11 installation is complete, but you’re not finished yet. You need to verify the upgrade succeeded and ensure Windows 11 is properly activated. This final step confirms everything is working correctly and your system is legitimate.
Start by checking your activation status. Open Settings by pressing the Windows key and typing “Settings.” Navigate to System, then scroll down to find Activation. You should see a message stating “Windows is activated” with your activation method listed below.
If you see a green checkmark and activation details, you’re all set. Windows automatically transferred your license from Windows 10 to Windows 11. Your system is legitimate and fully licensed.
If you see a warning message or “Not activated” status, don’t panic. This sometimes happens during upgrades. The activation process can take up to 24 hours as Microsoft verifies your license in the background.
Check your activation status by opening Settings and confirming Windows shows as activated. If activation fails after 24 hours, you may need to manually enter your product key or contact Microsoft Support.
To activate Windows 11 manually if needed, follow these steps:
- Open Settings and go to System > Activation
- Select “Activate using a product key” if prompted
- Enter your Windows product key when asked
- Follow the prompts to complete activation
- Restart your device if requested
You can also link your Windows 11 digital license to your Microsoft account for added protection. This helps you reactivate quickly if you ever change your hardware or reinstall Windows. Go to Settings > Accounts > Your Info and sign in with your Microsoft account, then return to Activation settings to link your license.
Verify these final details to confirm your upgrade is complete:
Below is a quick overview of main upgrade verification checks after installing Windows 11:
| Verification Step | What to Look For | Why It Matters |
|---|---|---|
| Activation Status | “Windows is activated” | Confirms valid license |
| System Info | Shows Windows 11 | Ensures correct OS installed |
| File Access | All files available | Confirms backup restored |
| Performance | Device runs smoothly | Detects post-upgrade issues |
- Windows 11 appears in Settings > System > About
- Activation status shows “Windows is activated”
- Your product key or digital license is recognized
- All your files and programs are accessible
- Device performance is stable
A successful activation confirms your Windows 11 installation is legitimate, licensed, and ready for long-term use without limitations or interruptions.
Pro tip: Link your digital license to your Microsoft account immediately after activation so you can reactivate Windows 11 automatically if you ever replace your motherboard or reinstall the operating system in the future.
Secure Your Windows 11 Upgrade With a Genuine License Today
Upgrading from Windows 10 to Windows 11 can seem complex with all the checks for compatibility, backups, and activation steps. One key challenge is ensuring your new system runs on a fully legitimate and activated Windows license without activation errors after installation. Avoid the frustration of unreliable or counterfeit keys that could block updates or limit features. This is where having a genuine Microsoft Windows 11 or Windows 10 license becomes critical to a smooth and secure upgrade experience.
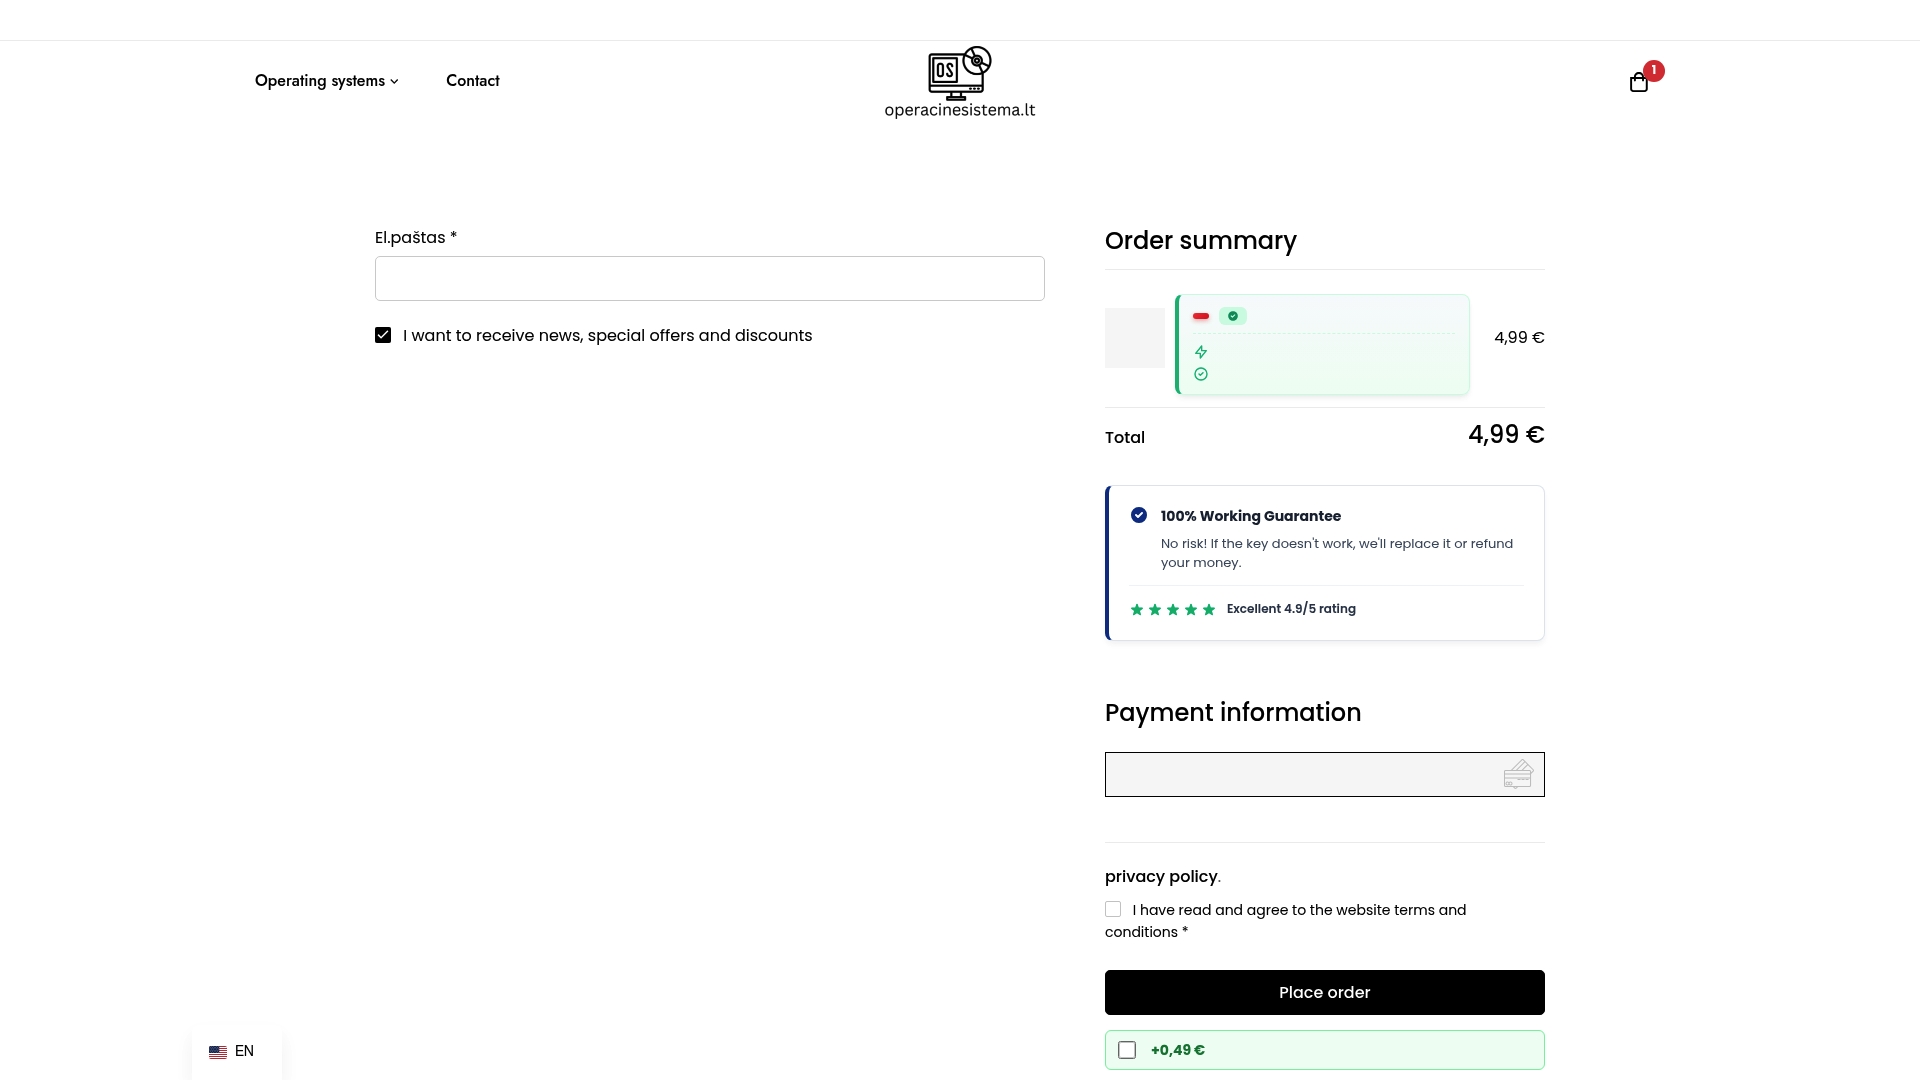
Take control of your Windows upgrade with confidence by purchasing your official license from https://operacinesistema.lt/en/checkout. We specialize in authentic digital keys and physical USB versions for Windows 10 and Windows 11 Pro, providing instant delivery and reliable support. Don’t risk activation issues or security vulnerabilities. Act now for a licensed upgrade that keeps your system secure, fast, and fully functional. Visit our secure checkout page to get your genuine Windows license and complete your safe transition today.
Frequently Asked Questions
How do I check if my device is compatible with Windows 11?
To check compatibility, use the PC Health Check app. Download the app from Microsoft’s official website and run it to scan your system’s hardware against Windows 11’s minimum requirements.
What should I do if my Windows 10 license is not activated before upgrading to Windows 11?
If your Windows 10 license shows as not activated, you need to activate it before proceeding with the upgrade. Open Settings, go to System, and then About to review your activation status. Enter your product key or contact support to resolve any issues.
How can I back up my files before upgrading to Windows 11?
You can back up your files either using OneDrive for automatic cloud syncing or by copying them to an external drive. Choose the method that suits you best, ensuring all important documents and folders are safely stored.
What steps should I follow to install Windows 11 after backing up my data?
After backing up, use the Installation Assistant to download and install Windows 11. Follow the on-screen prompts to complete the installation, ensuring your device remains plugged in and connected to a stable internet connection throughout the process.
How do I verify that my Windows 11 upgrade was successful?
To verify your upgrade, check the activation status under Settings, then System, and Activation. Ensure it says “Windows is activated” and that Windows 11 appears in the system information to confirm a successful installation.
What should I do if I encounter issues during the Windows 11 installation?
If you face any issues during installation, try restarting your device or checking your internet connection. If problems persist, consult the Microsoft support site for troubleshooting steps tailored to common installation errors.