How to Upgrade from Windows 7 to Windows 11 Safely
Upgrading from Windows 7 to Windows 11 can feel complicated, especially when personal files and business settings are on the line. With new system requirements and the need for a legally purchased license, every step matters for both data safety and long-term productivity. This guide breaks down how to protect critical information, check device compatibility with the official Microsoft tools, and make a secure, genuine purchase for a hassle-free update.
Table of Contents
- Step 1: Back Up Important Data and Settings
- Step 2: Check Windows 11 Compatibility and Requirements
- Step 3: Purchase a Genuine Windows 11 License Securely
- Step 4: Create Installation Media and Prepare Device
- Step 5: Install Windows 11 and Complete Setup
- Step 6: Verify Activation and Restore Data
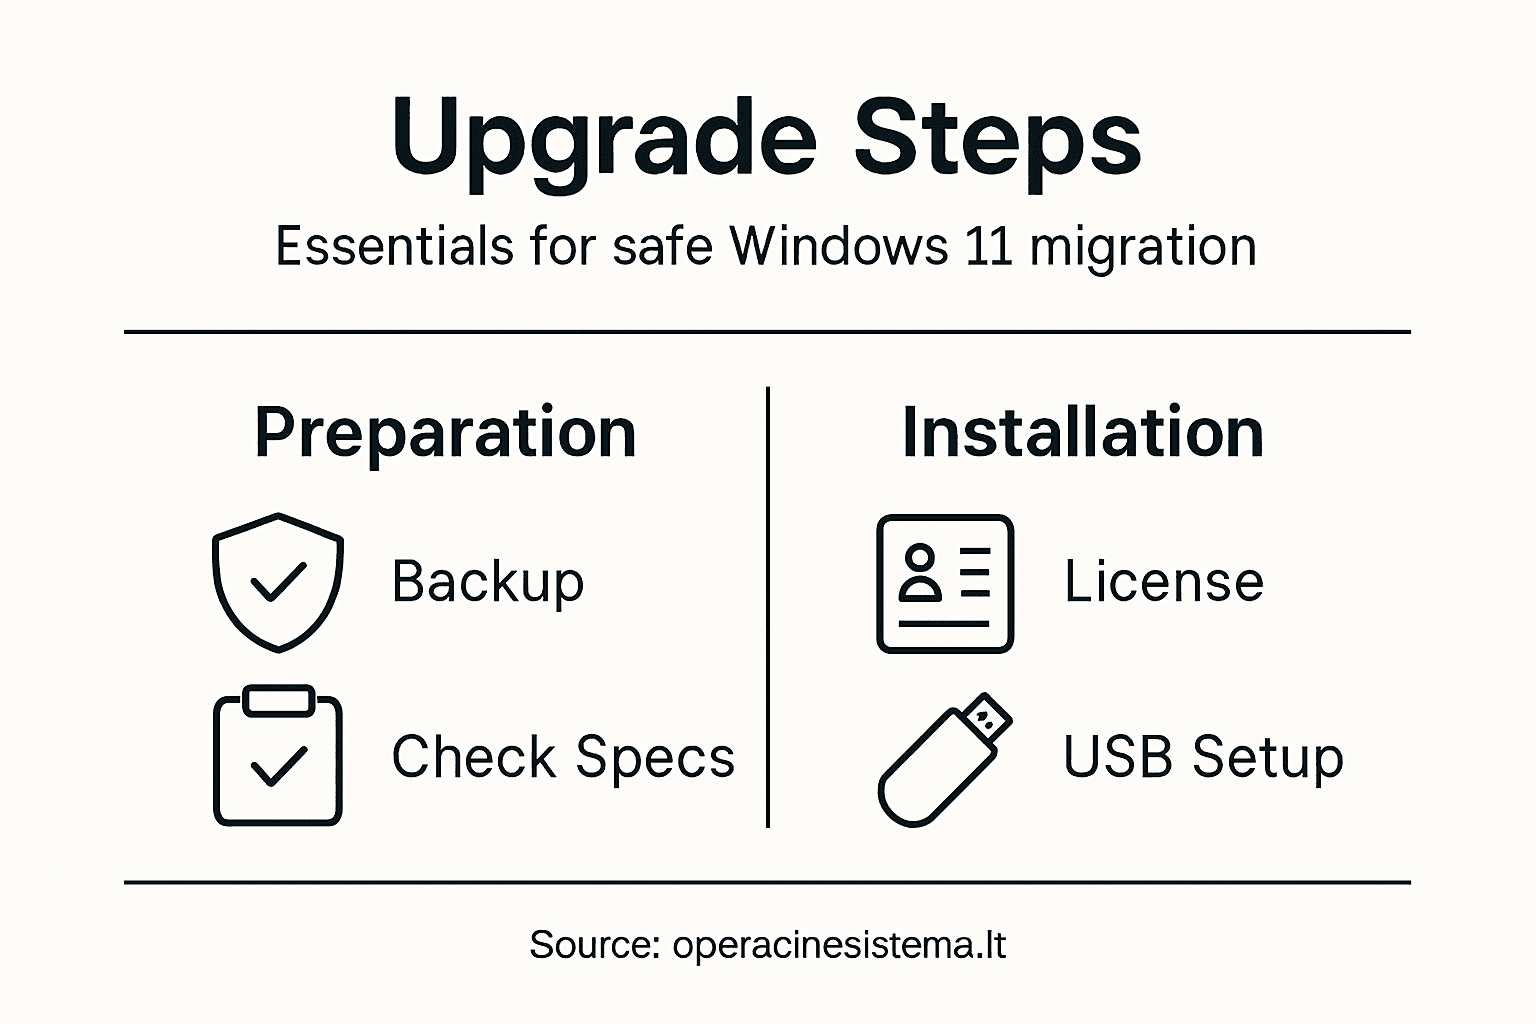
Quick Summary
| Key Insight | Explanation |
|---|---|
| 1. Back Up Data Thoroughly | Ensure you back up files, settings, and data to multiple locations for maximum security. |
| 2. Verify Compatibility for Upgrade | Check your hardware meets Windows 11 requirements using the Microsoft PC Health Check app. |
| 3. Purchase a Genuine License | Always obtain a legitimate Windows 11 license to ensure functionality and avoid activation issues. |
| 4. Create Installation Media | Prepare a bootable USB drive using the Media Creation Tool for a smooth upgrade process. |
| 5. Confirm Activation Post-Installation | Verify that Windows 11 is activated and restore critical data to ensure everything functions correctly. |
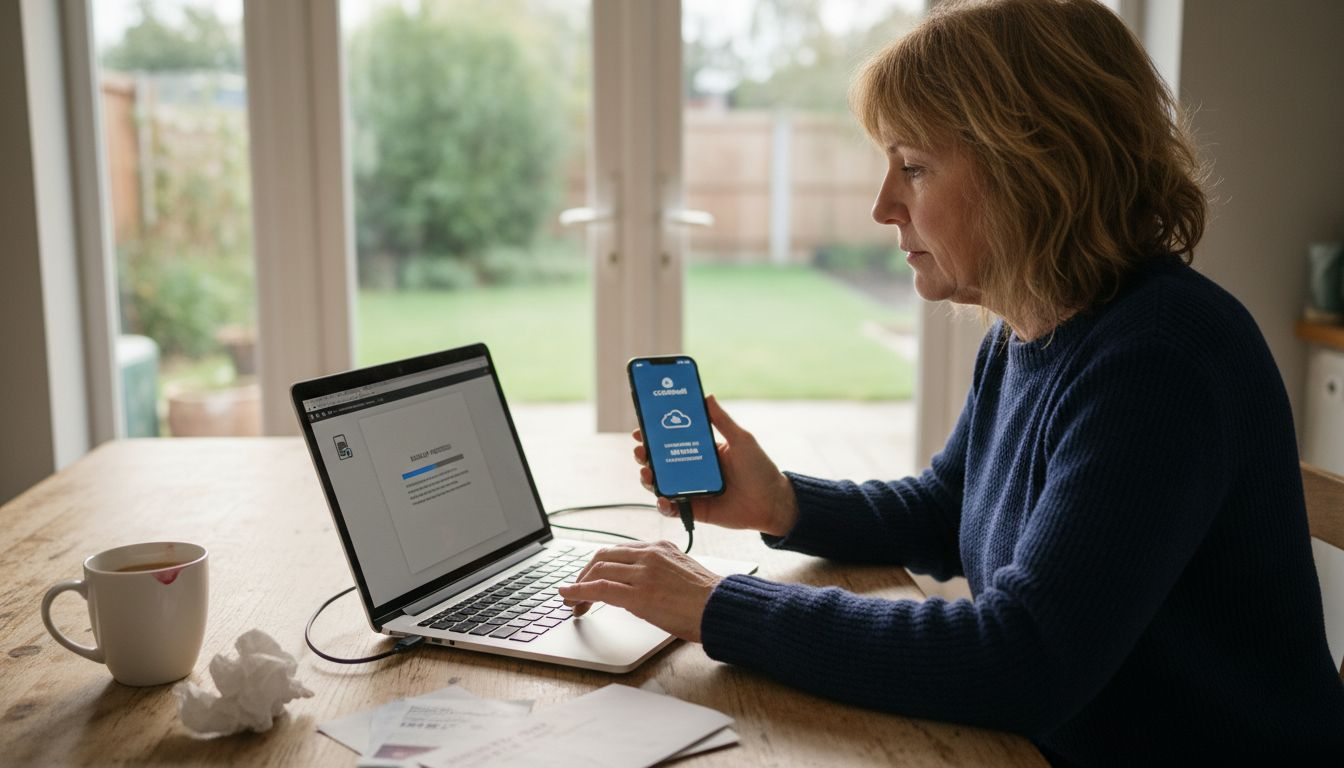
Step 1: Back Up Important Data and Settings
Before upgrading Windows, protecting your personal files and system configuration is crucial. In this step, you’ll create a comprehensive backup that safeguards your documents, settings, and critical information from potential loss during the Windows 11 upgrade process.
Windows provides built-in backup tools that make protecting your data straightforward. Start by checking Windows backup options through the Settings menu. You’ll want to focus on backing up several key areas:
- Desktop files
- Documents folder
- Pictures and videos
- Music collection
- Personal settings and themes
To create a full system backup, consider using specialized third-party backup software. These tools can generate a complete system image that captures your entire operating system, installed applications, and personal configurations.
A comprehensive backup is your insurance policy against potential upgrade complications.
For maximum protection, I recommend backing up to at least two different locations – an external hard drive and a cloud storage service. This dual-backup strategy ensures you’ll have a recovery option even if one backup method fails.
Here’s a quick comparison of backup location options to help you maximize data security:
| Backup Location | Pros | Cons |
|---|---|---|
| External Hard Drive | Fast backups, fully offline, high capacity | Physical loss risk, can fail over time |
| Cloud Storage | Offsite safety, access from anywhere | Relies on internet, monthly cost |
| Network Drive (NAS) | Central backup for multiple devices | More costly setup, network dependent |
| Local Disk Partition | Quickest restore option | Not safe if physical device is lost |
Pro tip: Always verify your backup by performing a test restore to confirm all critical files and settings have been successfully saved.
Step 2: Check Windows 11 Compatibility and Requirements
Before initiating your Windows upgrade, you must confirm your computer meets the necessary technical specifications for Windows 11. This critical step ensures a smooth transition and prevents potential installation complications.
Microsoft has established specific hardware requirements that your device must satisfy. Windows 11 system specifications include several key technical criteria you’ll need to verify:
- 64-bit processor running at 1 GHz or faster
- Minimum of 2 processor cores
- At least 4 GB of RAM
- 64 GB storage space
- UEFI firmware with Secure Boot capability
- TPM version 2.0
- Graphics card compatible with DirectX 12
- High-definition display larger than 9 inches
To officially confirm your computer’s eligibility, use Microsoft’s PC Health Check app which provides a comprehensive assessment of your system. This tool will analyze your hardware against Windows 11 requirements and provide detailed eligibility information.
Your device’s compatibility depends on meeting multiple technical specifications, not just one or two requirements.
If your current hardware falls short, you might need to consider upgrading specific components or purchasing a new device that fully supports Windows 11’s advanced features.
Pro tip: Collect your computer’s detailed hardware specifications before running compatibility checks to streamline the verification process.
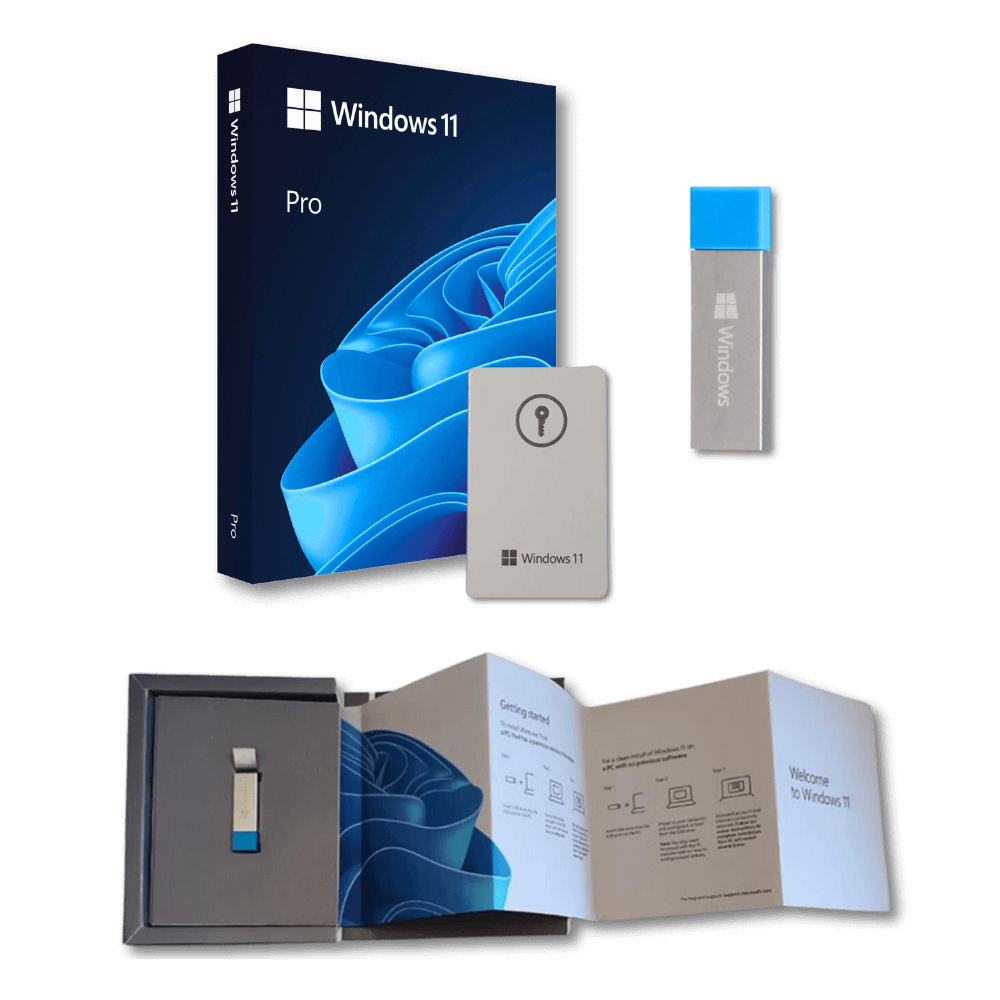
Step 3: Purchase a Genuine Windows 11 License Securely
To successfully upgrade from Windows 7, you’ll need to acquire a legitimate Windows 11 license that ensures full system functionality and long-term support. Purchasing a genuine license is crucial to protect your computer and avoid potential activation problems.
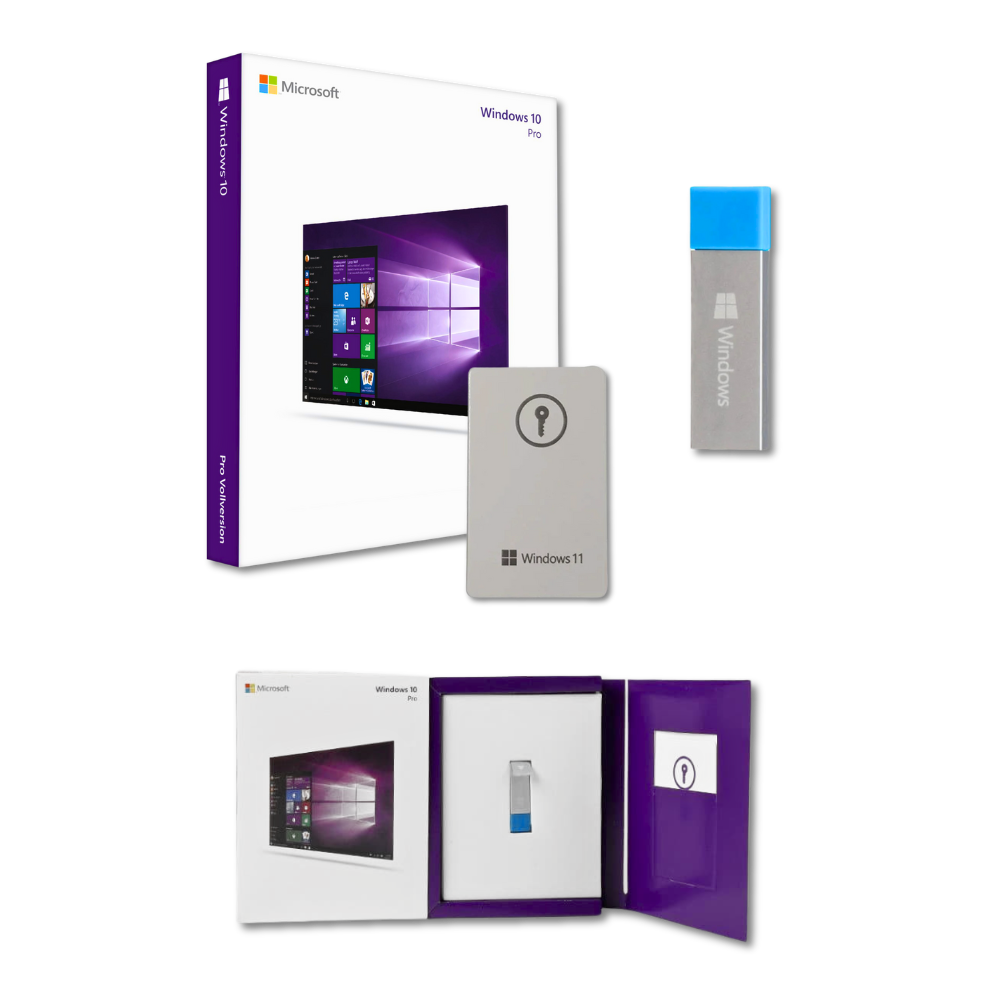
Obtaining a genuine Windows license requires careful consideration of authorized purchasing channels. Your most reliable options include:
- Microsoft Store digital purchases
- Authorized retail partners
- Original equipment manufacturer (OEM) channels
- Trusted online software marketplaces
When selecting your license, pay attention to these critical factors:
- Verify the seller’s authenticity
- Check for full product key inclusion
- Confirm digital license options
- Understand activation method
- Review return and support policies
A genuine Windows license is an investment in your computer’s security and performance.
Each license type offers different advantages. Digital licenses linked to your Microsoft account provide additional flexibility, allowing reactivation after hardware changes and offering enhanced security features.
Below is a summary of Windows 11 license types and their best use cases:
| License Type | Flexibility | Ideal For |
|---|---|---|
| Digital License | Easily transferable, secure | Individual users upgrading devices |
| OEM License | Tied to hardware, lower cost | New PCs, original system installs |
| Retail License | Transferable between PCs | Users replacing older computers |
| Volume License | Manages multiple devices | Businesses and large organizations |
Pro tip: Always keep your purchase receipt and product key in a secure, easily accessible location for future reference and potential support needs.
Step 4: Create Installation Media and Prepare Device
Creating a bootable installation media is your gateway to a smooth Windows 11 upgrade. This crucial step ensures you have a reliable method to install the new operating system on your computer, providing a safety net for your transition from Windows 7.
Creating Windows 11 installation media requires careful preparation and the right tools. You’ll need the following items:
- A USB flash drive with at least 8 GB of space
- Stable internet connection
- Administrator rights on your computer
- Microsoft’s Media Creation Tool
Follow these detailed steps to prepare your installation media:
- Download the Media Creation Tool from Microsoft’s official website
- Launch the tool with administrator privileges
- Select your preferred Windows 11 language and edition
- Choose USB flash drive as your installation media
- Follow the on-screen prompts to complete the process
Backup all important data before creating installation media to prevent potential data loss.
Alternative methods exist for creating installation media, such as using third-party tools like Rufus, but the official Microsoft Media Creation Tool remains the most straightforward and reliable option for most users.
Pro tip: Label your installation USB drive clearly and store it in a safe place for future system recovery or reinstallation needs.
Step 5: Install Windows 11 and Complete Setup
With your installation media prepared, you’re now ready to transform your computer by installing Windows 11. This critical stage will replace your existing Windows 7 operating system and set up a fresh, modern computing environment.
Installing Windows 11 involves several key steps that require careful attention to detail:
- Insert the bootable USB drive
- Restart your computer
- Enter BIOS/UEFI settings
- Set USB as primary boot device
- Save changes and restart
Once booted from the installation media, you’ll encounter several configuration screens:
- Select language and region
- Choose keyboard layout
- Confirm installation type
- Partition and format hard drive
- Select custom installation
Patience is key during installation – the process may involve multiple system restarts.
After the initial installation completes, you’ll need to configure your personal settings. This includes:
- Creating a Microsoft account
- Setting up privacy preferences
- Configuring network connections
- Choosing update settings
- Installing initial system updates
Pro tip: Keep your installation USB drive and product key in a safe location even after completing the installation, as they might be useful for future system recovery.
Step 6: Verify Activation and Restore Data
After successfully installing Windows 11, confirming your system’s activation and recovering your personal files are the final crucial steps in your upgrade journey. These actions ensure your new operating system is fully functional and your important data remains intact.
Check your Windows 11 activation status by navigating through these straightforward steps:
- Open Settings
- Click on System
- Select Activation
- Verify digital license details
Key indicators of successful activation include:
- No watermarks on desktop
- Full access to system customization
- Update capabilities enabled
- Security features fully functional
Linking your Microsoft account provides an additional layer of activation security and flexibility.
To restore your previously backed-up data, follow these recommended steps:
- Connect your external backup drive
- Open File Explorer
- Navigate to backup location
- Copy files to appropriate Windows 11 folders
- Verify file integrity
Pro tip: Prioritize restoring critical documents and personal files first, then systematically transfer media and less urgent data to minimize potential disruption.
Upgrade Your Windows 7 to Windows 11 with Confidence and Genuine Licenses
Upgrading from Windows 7 to Windows 11 can be challenging with important steps like backing up data, verifying compatibility, and securing a legitimate license. Protect yourself from activation issues and security risks by choosing authentic Windows 11 licenses from a trusted source. At https://operacinesistema.lt, you will find original Windows 11 Pro digital keys and physical USB versions designed to make your upgrade safe and seamless.
Take the stress out of your Windows 11 transition today. Visit operacinesistema.lt to get fast delivery of genuine licenses backed by reliable customer support and refund options. Ensure your upgrade is secure, official, and ready to perform at its best. Don’t compromise on authenticity—get started now with trusted Microsoft operating system licenses.
Frequently Asked Questions
How do I back up important data before upgrading from Windows 7 to Windows 11?
Before upgrading, create a comprehensive backup of your important files and settings. Use built-in backup tools to save your Desktop files, Documents, Pictures, and other critical data, and consider backing up to both an external hard drive and a cloud storage service for maximum safety.
What are the system requirements for Windows 11?
To upgrade to Windows 11, your device must meet specific hardware requirements, including a 64-bit processor, at least 4 GB of RAM, and 64 GB of storage space. Verify these specifications with a compatibility tool to ensure a smooth upgrade process.
How do I purchase a genuine Windows 11 license?
Acquire a legitimate Windows 11 license through authorized retail partners or digital purchases from the Microsoft Store. Ensure that you verify the seller’s authenticity and that you receive a full product key to avoid activation issues later on.
What steps do I need to follow to create installation media for Windows 11?
To create installation media, you’ll need a USB flash drive with at least 8 GB of space and the Media Creation Tool from Microsoft. Download the tool, follow the prompts to select Windows 11, and choose the USB option to prepare your installation media.
How can I verify that Windows 11 is activated after installation?
Verify your Windows 11 activation by navigating to the Settings app, selecting System, and then clicking Activation. A successful activation will show indicators like no watermarks on the desktop and full access to system customization features.
What should I do to restore my backed-up data after upgrading to Windows 11?
To restore your backed-up data, connect your external backup drive, open File Explorer, and navigate to your backup location. Copy your important files, starting with critical documents, into their appropriate Windows 11 folders to ensure that nothing vital is lost.
Recommended
- Windows 11 S Mode: Pros, Cons and How to Switch to Normal – operacinesistema.lt
- Activating Windows 11 Pro: How to install and activate the operating system without errors – operacinesistema.lt
- 10 secret Windows 11 Pro features you might not have known about – operacinesistema.lt
- Upgrade Win10 to Win11 Securely With Genuine License
- How to Migrate a Website: A Step-by-Step Guide