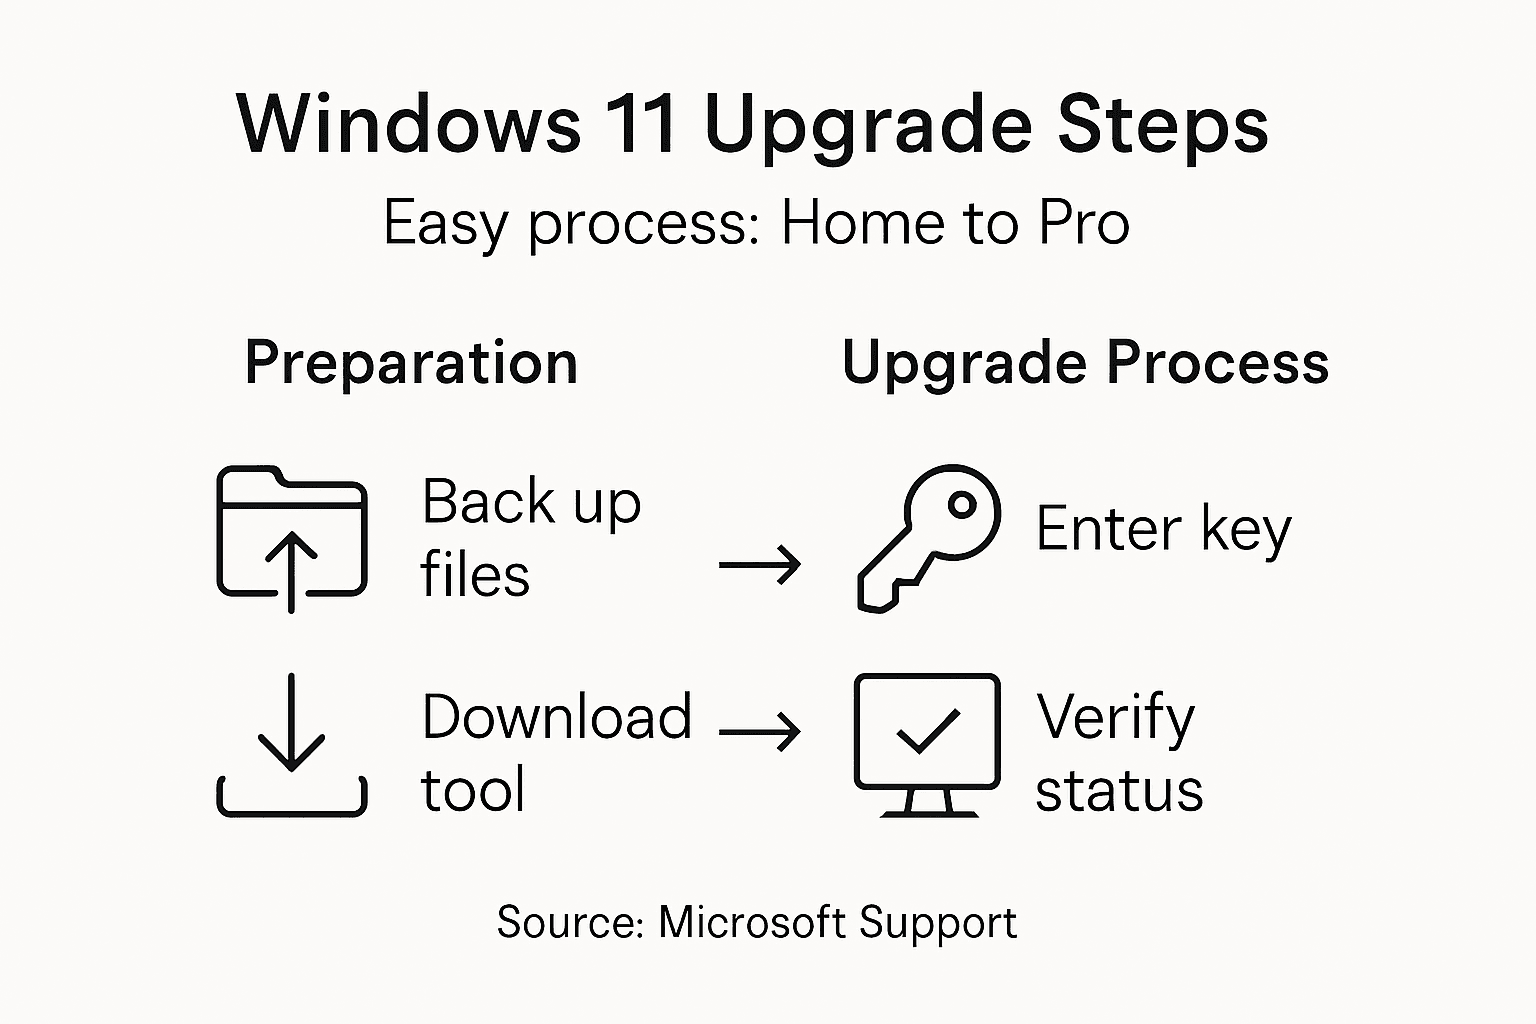
विंडोज 11 होम को आसानी से मुफ्त में प्रो में अपग्रेड कैसे करें
Upgrading from Windows 11 Home to Pro can feel complicated when you want advanced features without unnecessary expenses. If you rely on your PC for work or business, getting access to powerful tools like Remote Desktop, BitLocker, and Group Policy Editor is crucial. By using the official Microsoft upgrade tools and generic product key, you can move to Windows 11 Pro smoothly while avoiding the risks and hassle that come with unofficial solutions.
विषय-सूची
- Step 2: Download And Apply Official Windows 11 Pro Tools
- Step 3: Enter A Generic Pro Product Key To Start Upgrade
- Step 4: Verify Upgrade Status And Activate Pro Features
Quick Overview
| Essential Insight | Clarification |
|---|---|
| 1. Use Microsoft’s Installation Assistant | Downloading this tool simplifies the upgrade process by ensuring compatibility and automating the installation of Windows 11 Pro. |
| 2. Enter Generic Pro Product Key | You need Microsoft’s generic Pro key during the upgrade to facilitate the transition from Home to Pro edition. |
| 3. Verify Activation Status Post-Upgrade | Check Settings > System > Activation to confirm Windows 11 Pro is activated and all features are accessible. |
| 4. Restart Computer if Issues Arise | If activation fails or features are unavailable, restart your PC; sometimes, a reboot is necessary to recognize the upgrade. |
| 5. Write Down Important Keys | Keep a record of the generic product key and activation confirmation for future reference or troubleshooting needs. |
…
Step 2: Download and apply official Windows 11 Pro tools
You’re ready to grab the official upgrade tools that Microsoft provides. These tools handle the heavy lifting, checking your system compatibility and downloading the necessary files automatically.
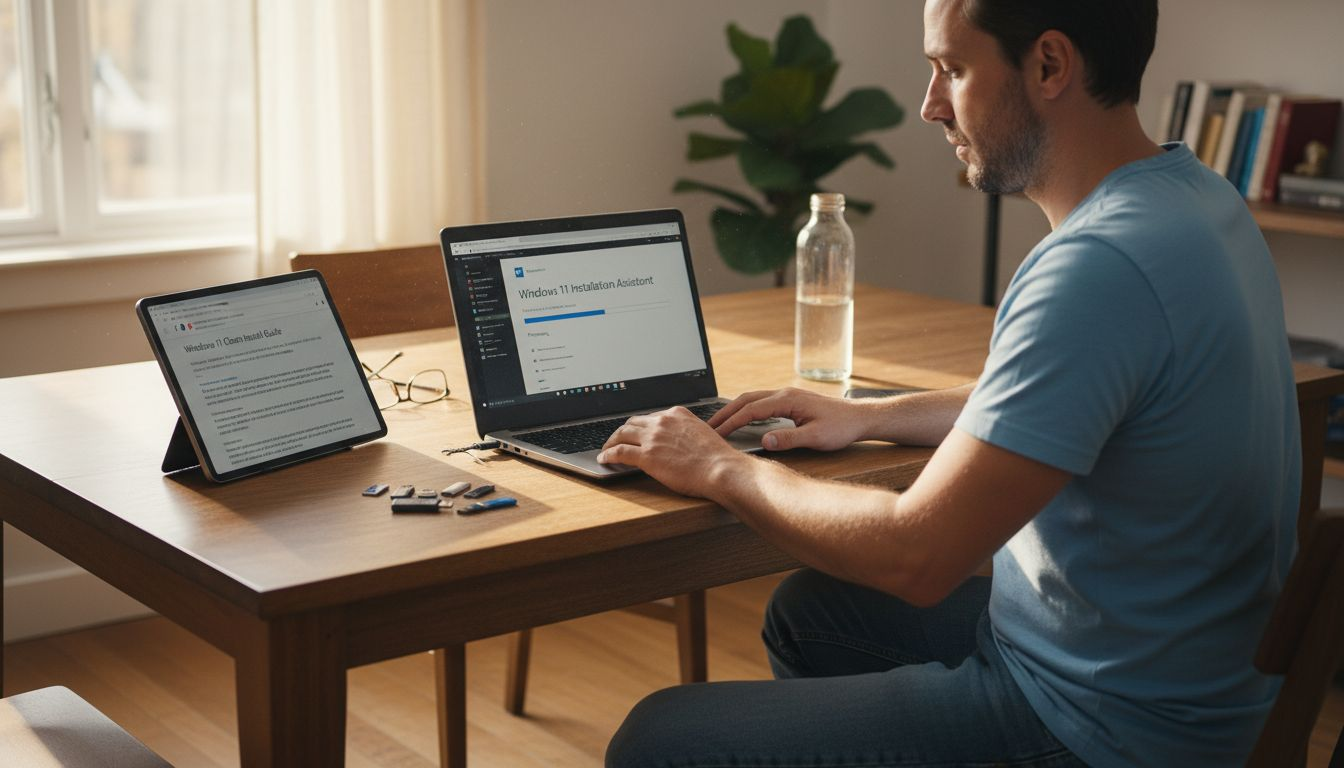
Start by visiting Microsoft’s official website and downloading the Windows 11 Installation Assistant. This is the simplest path forward because it verifies your hardware meets the requirements, downloads only what you need, and installs the upgrade without requiring manual intervention.
Once downloaded, run the installation file. You’ll see these key steps:
- Accept the license terms to proceed
- Let the tool check your system compatibility automatically
- Choose to upgrade to Windows 11 Pro (not Home)
- Wait while files download and installation begins
- Restart your computer when prompted
द Windows 11 Installation Assistant preserves your files and settings during the upgrade, so you won’t lose anything in the process. The entire operation runs smoothly without requiring you to manually manage drivers or settings.
During installation, your computer will restart multiple times. This is normal. Don’t interrupt the process or shut down your PC during these restarts, or you could encounter errors.
After the upgrade completes, your system will boot into Windows 11 Pro. You’re not quite done yet though. Once you’re running the new operating system, you’ll need to activate Windows 11 Pro with a valid license key to unlock all features and avoid limitations.
Using Microsoft’s official tools eliminates the risk of malware or corruption that comes with third-party upgrade methods.
प्रो टिप: Close all running applications and disable antivirus software temporarily during installation, as they can slow down the process or cause conflicts with the upgrade procedure.
Step 3: Enter a generic Pro product key to start upgrade
During the upgrade process, Windows will ask you to enter a product key. This is where you’ll use Microsoft’s generic Pro key to initiate the Home to Pro edition change.
When prompted for a product key, enter: वीके7जेजी-एनपीएचटीएम-सी97जेएम-9एमपीजीटी-3वी66टी
This is the official generic key Microsoft provides for upgrading to Windows 11 Pro. It allows the installation and edition upgrade to proceed without interruption. Here’s what happens next:
- The system validates the key format and recognizes it as legitimate
- The upgrade continues to completion without errors
- Windows installs all Pro features and capabilities
- Your system boots into Windows 11 Pro
Understand this critical point: generic product keys function for installation purposes only, not for permanent activation. The key gets you through the upgrade process, but activation requires a different step.
After the upgrade finishes and you’re running Windows 11 Pro, you’ll see a notification that Windows is not activated. This is expected. The generic key’s job is done at this point.
Don’t panic about the “not activated” status. You haven’t wasted anything or made a mistake. You now have Windows 11 Pro installed on your system with all features available during a grace period. What comes next is entering a legitimate license key or digital license to permanently activate your copy.
Generic keys are not license codes. They’re installation tools only. Activation requires a valid purchased key or Microsoft account license.
प्रो टिप: Write down the generic key before starting the upgrade so you don’t have to search for it during installation if your internet connection drops temporarily.
Step 4: Verify upgrade status and activate Pro features
Now that Windows 11 Pro is installed, it’s time to check your activation status and complete the final step. This ensures you have full access to all Pro features without limitations.
Open the Settings app and navigate to System > Activation. This screen shows your current activation status and edition. You’ll see information about your Windows version and whether activation is successful.
Here’s what to look for:
- Edition should display Windows 11 Pro (not Home)
- Activation status should show “Windows is activated”
- The activation method displays as either a product key or digital license
- No watermark appears in the bottom right corner
If everything shows as activated, you’re done. All Pro features are now unlocked and ready to use, including Hyper-V, Remote Desktop, Group Policy Editor, and BitLocker encryption.
If you see “Windows is not activated” or an error message, don’t worry. Activation status verification steps may require you to re-enter your Pro product key or restart your system for changes to take effect.
Try restarting your computer first. Sometimes Windows needs a full reboot to recognize the upgrade and validate the license. After restart, check Settings > Activation again.
If activation still fails, it may be because the original Home edition license is conflicting with the Pro upgrade. In this case, you’ll need to enter a valid Pro license key to complete activation permanently.
Here’s a summary of differences between Windows 11 Home and Pro editions for reference:
| विशेषता | Home Edition | Pro Edition |
|---|---|---|
| रिमोट डेस्कटॉप | Not included | Full access |
| BitLocker Encryption | Not supported | Supported for disk security |
| समूह नीति संपादक | Unavailable | Included for advanced settings |
| Hyper-V Virtualization | No support | Available for running VMs |
| Activation Options | Digital license only | Product key or digital license |
For quick troubleshooting, see common activation issues and their solutions:
| Activation Issue | Possible Cause | Recommended Solution |
|---|---|---|
| “Not activated” status | Used generic Pro key | Enter purchased Pro license key |
| Error message after upgrade | Home license conflict | Restart and re-enter Pro key |
| Watermark visible | Invalid activation | Check license and try activation again |
| Pro features unavailable | License not recognized | Link Microsoft account or enter valid key |
Pro features remain unavailable until Windows recognizes a valid Pro license or digital license tied to your Microsoft account.
प्रो टिप: Take a screenshot of your activation confirmation page showing Windows 11 Pro is activated, so you have proof of your upgrade status if you ever need to reference it for support or troubleshooting.
Unlock the Full Power of Windows 11 Pro with a Genuine License
Upgrading from Windows 11 Home to Pro can be confusing when you face activation hurdles or need a valid license key. The article showed how generic keys assist with installation but stop short of permanent activation. If you want to fully enable Pro features like Remote Desktop, BitLocker, and Group Policy Editor without interruption or upgrade errors you need a trusted, legitimate license key. Avoid risking your system security or functionality by relying on unofficial methods.
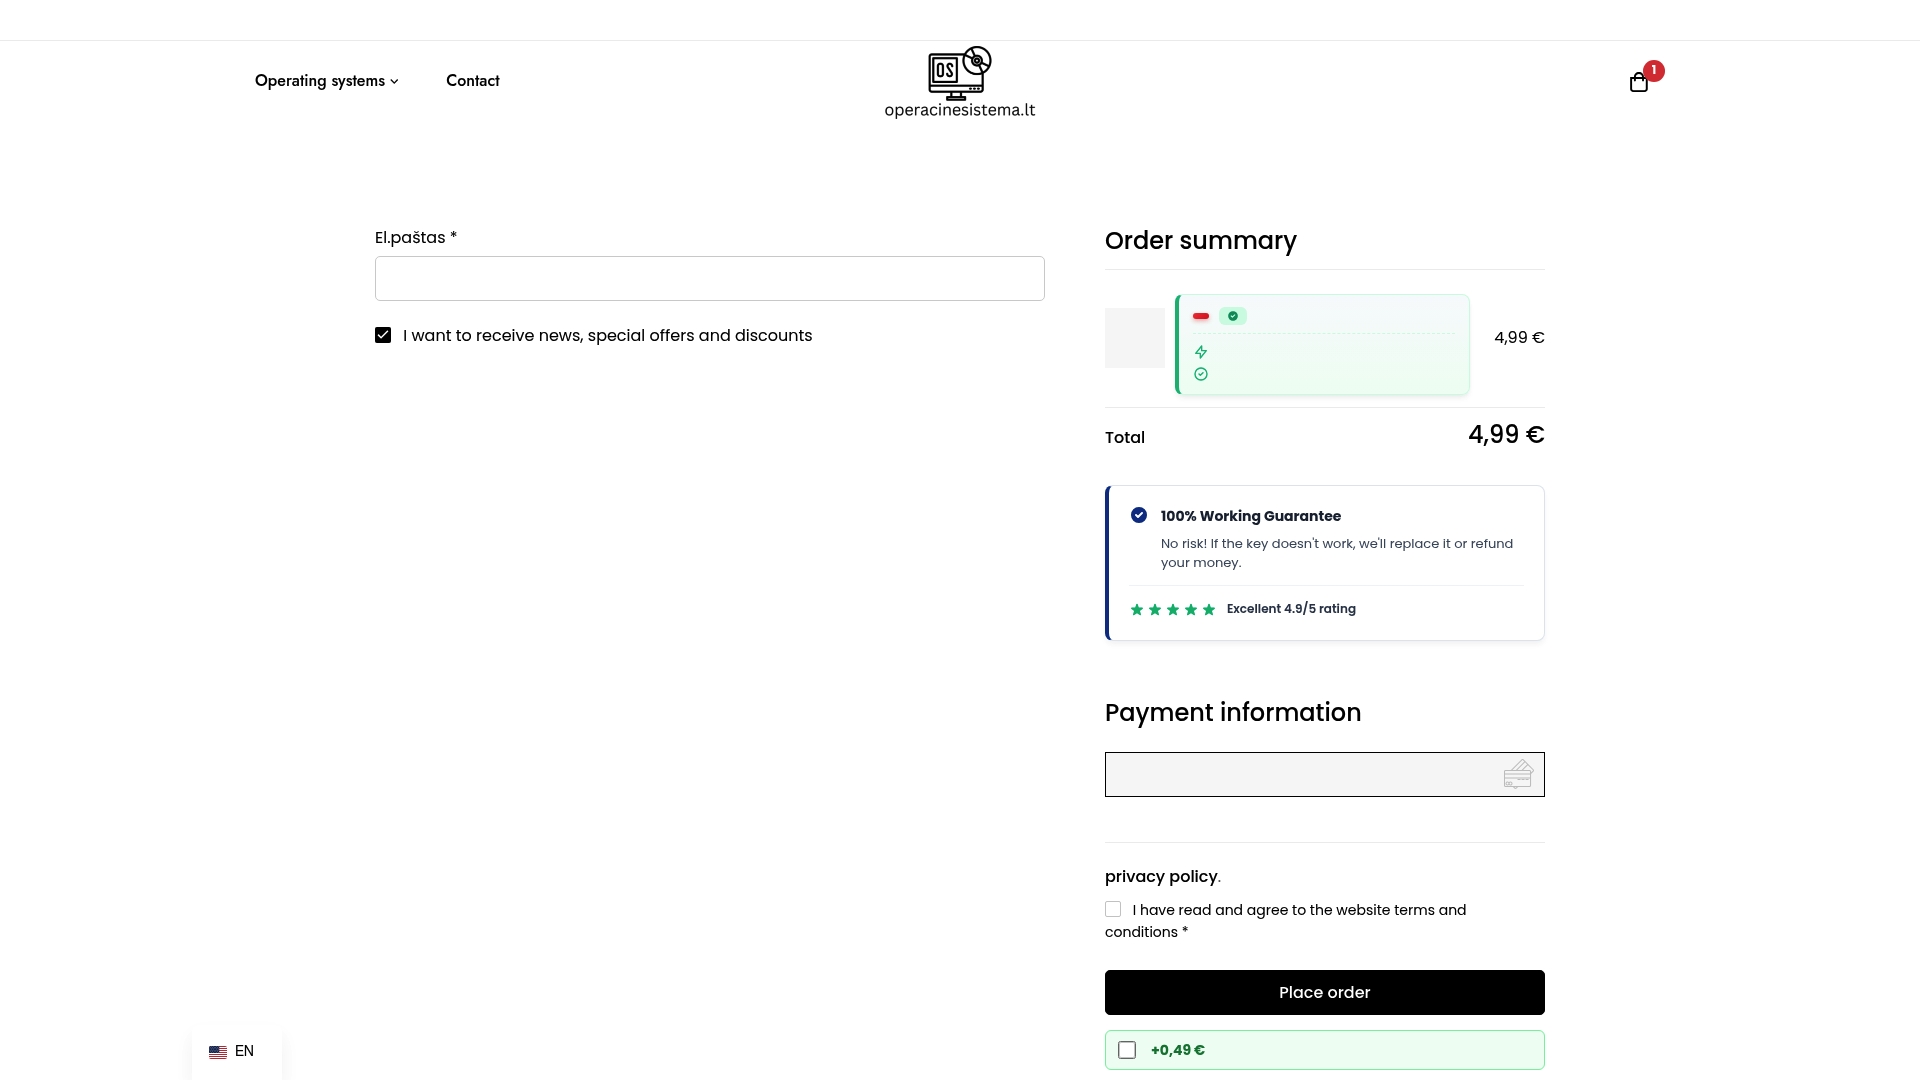
Secure your upgrade today with an authentic Windows 11 Pro digital license from our trusted platform. At https://operacinesistema.lt/en/checkout, we specialize in delivering original Microsoft licenses instantly via email or physical USB, catering to both personal users and small businesses. Benefit from safe and legal purchases backed by customer support and refund options if unopened. Don’t wait until activation issues slow you down take control now and experience the full potential of Windows 11 Pro with confidence.
Explore your options with our genuine Windows 11 Pro licenses and complete your upgrade seamlessly. Your system deserves the best unlock, activate, and enjoy professional-grade Windows today!
अक्सर पूछे जाने वाले प्रश्न
How do I start the upgrade from Windows 11 Home to Pro?
To begin the upgrade, download the Windows 11 Installation Assistant from Microsoft’s official website. Follow the prompts to check system compatibility and start the upgrade process.
Do I need to back up my files before upgrading to Windows 11 Pro?
While the upgrade process preserves your files and settings, it’s always a good idea to back up your important data. Create a backup before starting the upgrade to avoid any potential data loss.
What happens if I enter the generic product key during the upgrade?
Using the generic product key allows the installation to proceed without interruption, but it does not activate your copy of Windows 11 Pro. After the installation, you will need to enter a valid purchased license key to fully activate your system.
How can I check if my Windows 11 Pro upgrade was successful?
After upgrading, open the Settings app and navigate to System > Activation. If it displays “Windows is activated” along with the version as Windows 11 Pro, then your upgrade was successful.
What should I do if my Windows 11 Pro shows an “activation failed” message?
If you see an activation failed message, first restart your computer and check the activation status again. If the issue persists, enter a valid Pro license key to complete the activation permanently.
Are there any features exclusive to Windows 11 Pro?
Yes, Windows 11 Pro includes features not available in the Home edition, such as BitLocker encryption, Remote Desktop, and Group Policy Editor. Summon these tools after activation to enhance your system’s functionality.
अनुशंसित
- सुरक्षित अपग्रेड के लिए विंडोज 10 को 11 में चरण-दर-चरण कैसे अपडेट करें
- Windows 11 Pro features not in Windows 11 Home – operacinesistema.lt
- Free Windows 11 Activation Keys & How to Activate Forever (2026 Updated) – operacinesistema.lt
- Windows 11 Home to Pro Upgrade Key Free: Legit Methods Microsoft Doesn’t Advertise – operacinesistema.lt