Workflow für Betriebssystem-Upgrades: Schritt-für-Schritt-Anleitung für 2026
Upgrading your Microsoft operating system can feel overwhelming, especially when you’re managing IT infrastructure for your business or juggling multiple systems as a small business owner. The stakes are high: a failed upgrade can mean lost productivity, security vulnerabilities, and compliance headaches. Yet delaying upgrades leaves your systems exposed to threats and compatibility issues. This guide walks you through a proven, secure workflow for Microsoft OS upgrades in 2026, helping you navigate each phase with confidence and minimize risks while maximizing the productivity and security benefits of modern operating systems.
Inhaltsübersicht
- Preparing For An OS Upgrade: What You Need To Know
- Executing The OS Upgrade: Step-By-Step Process
- Verifying And Troubleshooting Your OS Upgrade
- Enhance Your OS Upgrade With Trusted Licensing And Support
Die wichtigsten Erkenntnisse
| Punkt | Einzelheiten |
|---|---|
| Preparation is critical | Assess hardware compatibility, backup data, and validate licenses before starting any upgrade to prevent failures and data loss. |
| Follow structured steps | Execute upgrades using a clear, numbered process that preserves system integrity and reduces downtime for your business operations. |
| Verify and troubleshoot | Confirm successful installation, activate your OS properly, and address common issues like driver conflicts or activation errors immediately. |
| Use genuine licenses | Authentic product keys ensure compliance, security, and seamless activation without legal or operational risks. |
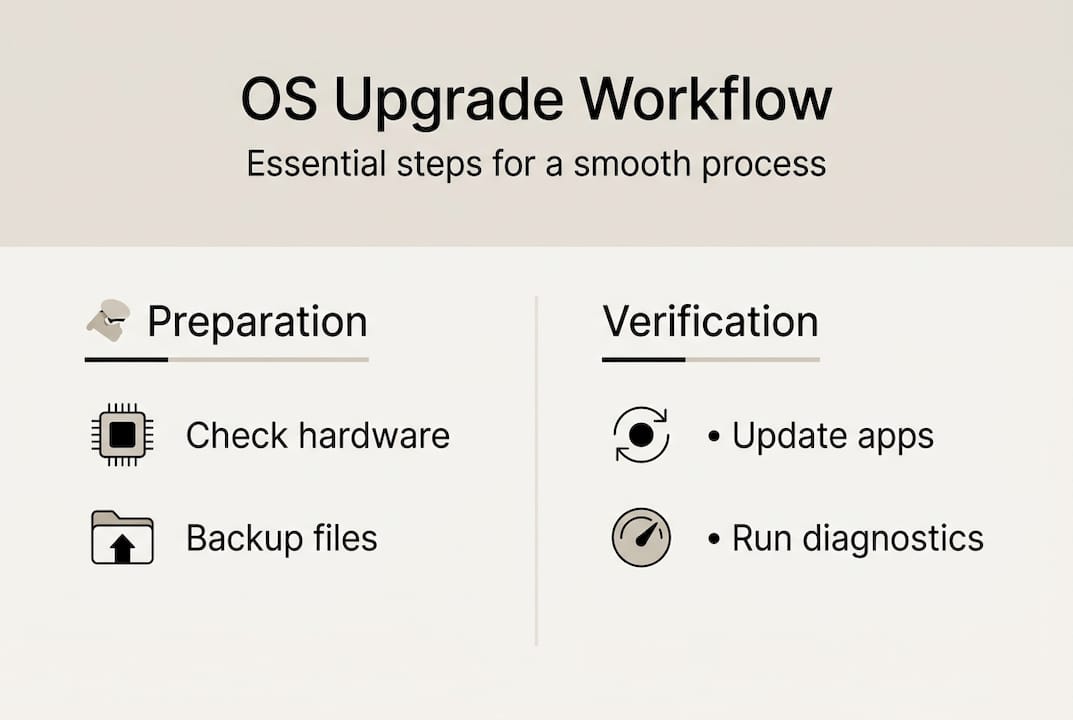
Preparing for an OS upgrade: what you need to know
Successful OS upgrades start long before you click the install button. Preparation separates smooth transitions from catastrophic failures that cost hours of downtime and potential data loss.
Start by inventorying your current environment. Document your OS version, hardware specifications, and installed applications. Check your CPU generation, RAM capacity, storage space, and TPM version. Windows 11 Pro, for example, requires specific hardware features that older systems may lack. Run the PC Health Check tool to identify compatibility gaps early.
Next, backup everything critical. Create full system images and store them on external drives or cloud storage. Test your backups by restoring a sample file to confirm they work. Many IT professionals skip this step and regret it when something goes wrong during installation.
License validation is non-negotiable. Validating the Windows license key is critical before upgrade to avoid activation and compliance issues. Invalid or counterfeit keys will block activation, leaving you with an unusable system. Take five minutes to validate your Windows license key through official channels before proceeding.
Review your security baseline. Install all pending Windows updates and security patches on your current OS. Update antivirus definitions and run a full system scan. Document your current security policies, firewall rules, and network configurations so you can replicate them after the upgrade.
Here’s a preparation checklist you can follow:
- Document current OS version and hardware specifications
- Verify hardware meets target OS requirements
- Create full system backups and test restoration
- Validate all software licenses for compliance
- Install latest security patches and updates
- Document security policies and network settings
- Disconnect unnecessary peripherals during upgrade
- Ensure stable power supply or use UPS backup
Pro Tip: Create a rollback plan before starting. Document the exact steps to restore your previous OS from backup if the upgrade fails. Test this process on a non-critical machine first to build confidence.
Consider application compatibility carefully. Some legacy business software may not run on newer OS versions. Contact vendors to confirm support or identify alternatives. Build a compatibility matrix like this:
| Application | Current Version | Windows 11 Compatible | Action Required |
|---|---|---|---|
| Accounting Software | 8.2 | Ja | Update to 8.5 first |
| CRM System | 3.1 | Von | Migrate to cloud version |
| Database Tools | 2019 | Ja | No action needed |
| Custom Scripts | Various | Needs testing | Test in sandbox environment |
Allocate enough time for the upgrade process. Plan for 2-4 hours of active installation time plus additional hours for verification and troubleshooting. Schedule upgrades during off-peak hours to minimize business disruption.
Executing the OS upgrade: step-by-step process
With preparation complete, you’re ready to execute the actual upgrade. Following detailed stepwise upgrade instructions reduces errors and preserves system integrity. This phase requires focus and patience.
Here’s your execution workflow:
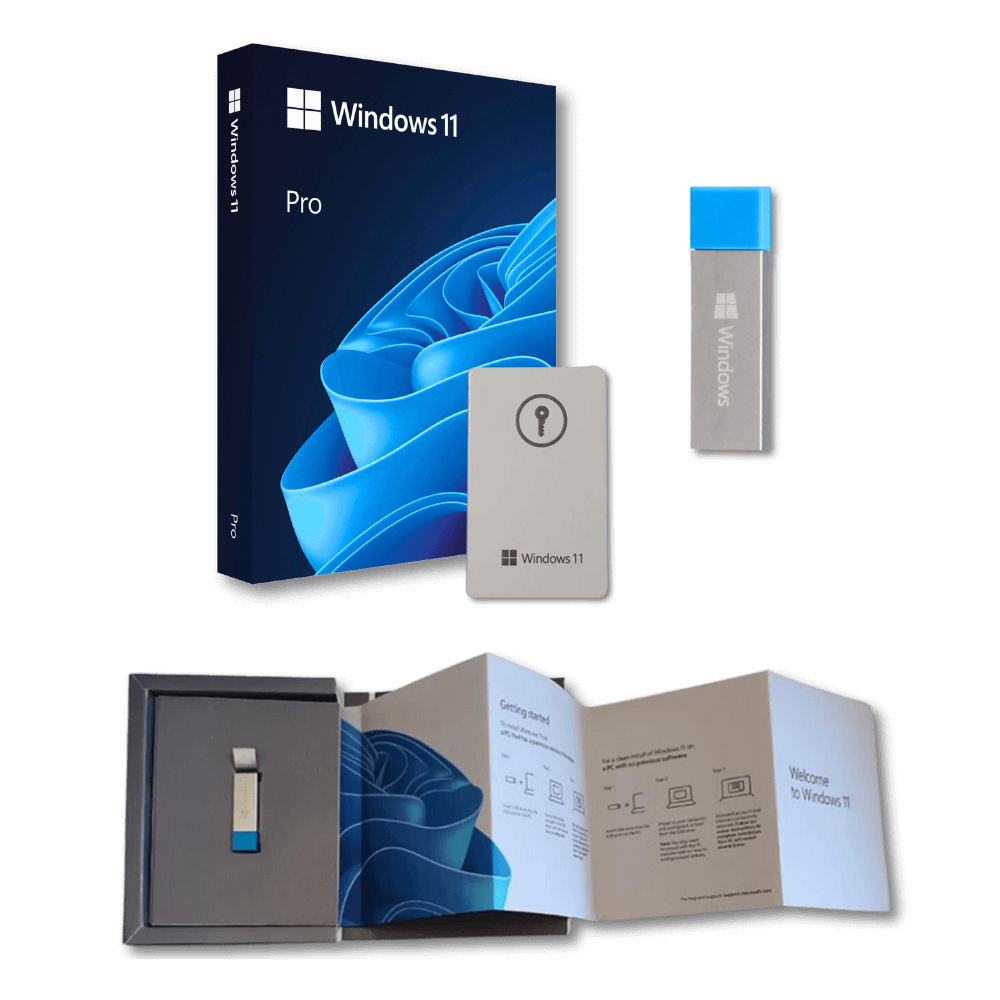
Create installation media using the official Windows Media Creation Tool. Download it from Microsoft’s website and use a USB drive with at least 8GB capacity. The tool will download Windows 11 Pro and create a bootable installer automatically.
Close all running applications completely. Save your work and exit every program, including background applications in the system tray. Disable antivirus temporarily to prevent conflicts during installation, but remember to re-enable it immediately after.
Insert your bootable USB and restart your computer. Enter the BIOS or boot menu (usually F2, F12, or Delete key) and select the USB drive as the boot device. Your system will load the Windows installer.
Select your language, time format, and keyboard preferences when prompted. Click “Install Now” to begin the process. You’ll see a screen asking for your product key.
Enter your genuine Windows 11 Pro product key. If you don’t have one yet, you can skip this step temporarily, but you’ll need to activate within 30 days. Using authentic keys prevents activation headaches later.
Accept the license terms after reading them. Choose between “Upgrade” to keep your files and apps, or “Custom” for a clean installation. Most business users prefer the upgrade option to preserve data and settings.
Select your installation drive carefully. The installer will show available partitions. Choose the correct drive where your current OS resides. Double check this step because selecting the wrong drive will erase that data permanently.
Monitor the installation progress without interrupting. Your computer will restart several times automatically. The process typically takes 30-90 minutes depending on your hardware speed and data volume. Don’t force shutdown or unplug the system.
Complete the out-of-box experience (OOBE) setup. Choose privacy settings, create or sign in with your Microsoft account, and configure Windows Hello if your hardware supports it. These initial settings establish your security baseline.
Install critical drivers immediately after first boot. Windows Update will fetch most drivers automatically, but check your manufacturer’s website for specialized hardware like graphics cards, network adapters, or printer drivers.
Pro Tip: Keep your installation media after upgrading. Store the USB drive in a safe location so you can quickly reinstall or repair Windows if problems emerge later without downloading everything again.
The upgrade process preserves most settings and applications, but some programs may require reinstallation. Keep your software installation files and license keys accessible. Plan to upgrade your Windows OS securely by following manufacturer guidelines for each critical application.
If the installer encounters errors, note the error code and message. Common issues include insufficient disk space, incompatible drivers, or corrupted installation files. Address these before retrying the upgrade.
Verifying and troubleshooting your OS upgrade
Installation completion is just the beginning. Thorough verification ensures your upgrade succeeded and your system operates securely. Performing thorough post-upgrade checks ensures stability and security, cutting malware risk by up to 50%.

Start with basic system verification. Press Windows key plus R, type “winver” and hit enter to confirm your OS version and build number. Verify you’re running the correct edition (Pro, Enterprise, etc.) and the latest build for 2026.
Check device functionality systematically:
- Open Device Manager and look for yellow warning icons indicating driver problems
- Test network connectivity by accessing websites and network shares
- Verify printer functionality by printing a test page
- Confirm audio output through speakers and headphones
- Test USB ports with various devices
- Check display settings and multiple monitor configurations
- Verify Bluetooth connectivity if applicable
Activate Windows immediately if you haven’t already. Go to Settings, System, Activation and enter your product key. Activation should complete within minutes if you have internet connectivity. Your license status should show “Windows is activated with a digital license.”
Run Windows Update completely. Check for updates multiple times until no more updates appear. This process may take several rounds as some updates require others to install first. Restart after each batch of updates.
Update all installed applications to their latest versions. Many programs need updates to work properly with Windows 11. Check each critical business application and verify it launches and functions correctly.
Restore your security baseline. Reconfigure firewall rules, antivirus settings, and security policies you documented during preparation. Run a full security scan to confirm no threats emerged during the upgrade process. Follow the Microsoft OS security checklist 2026 to ensure comprehensive protection.
Common troubleshooting scenarios include:
| Issue | Likely Cause | Solution |
|---|---|---|
| Activation failure | Invalid or used product key | Validate key authenticity and contact support |
| Boot loop | Driver conflict or corrupted files | Boot to safe mode and uninstall recent drivers |
| Slow performance | Insufficient RAM or background processes | Check Task Manager and disable startup programs |
| Network connectivity loss | Outdated network adapter driver | Update driver from manufacturer website |
| Application crashes | Compatibility issues | Run compatibility troubleshooter or update app |
If activation fails, don’t panic. First, verify your internet connection works properly. Then, check that you entered the product key correctly without typos. If problems persist, use the automated phone activation system or contact Microsoft support with your product ID.
“The most common upgrade failures stem from skipping preparation steps or using invalid licenses. Taking time to validate everything before starting saves hours of troubleshooting later.” This principle applies whether you’re upgrading one machine or rolling out changes across an entire organization.
Document any configuration changes you make during troubleshooting. This documentation becomes invaluable when upgrading additional systems or diagnosing future issues. Create a simple spreadsheet tracking each system’s upgrade date, issues encountered, and solutions applied.
Test your backup and recovery procedures post-upgrade. Verify you can still access your backup files and that your disaster recovery plan works with the new OS. Update your documentation to reflect any changes in backup procedures or tools.
Enhance your OS upgrade with trusted licensing and support
Navigating OS upgrades becomes significantly easier when you partner with reliable software licensing providers. Genuine licenses eliminate activation headaches and ensure your business stays compliant with Microsoft’s terms.
For IT professionals managing multiple systems, sourcing authentic Windows licenses from trusted suppliers streamlines deployment. You need suppliers who deliver digital keys instantly and provide support when activation issues arise.
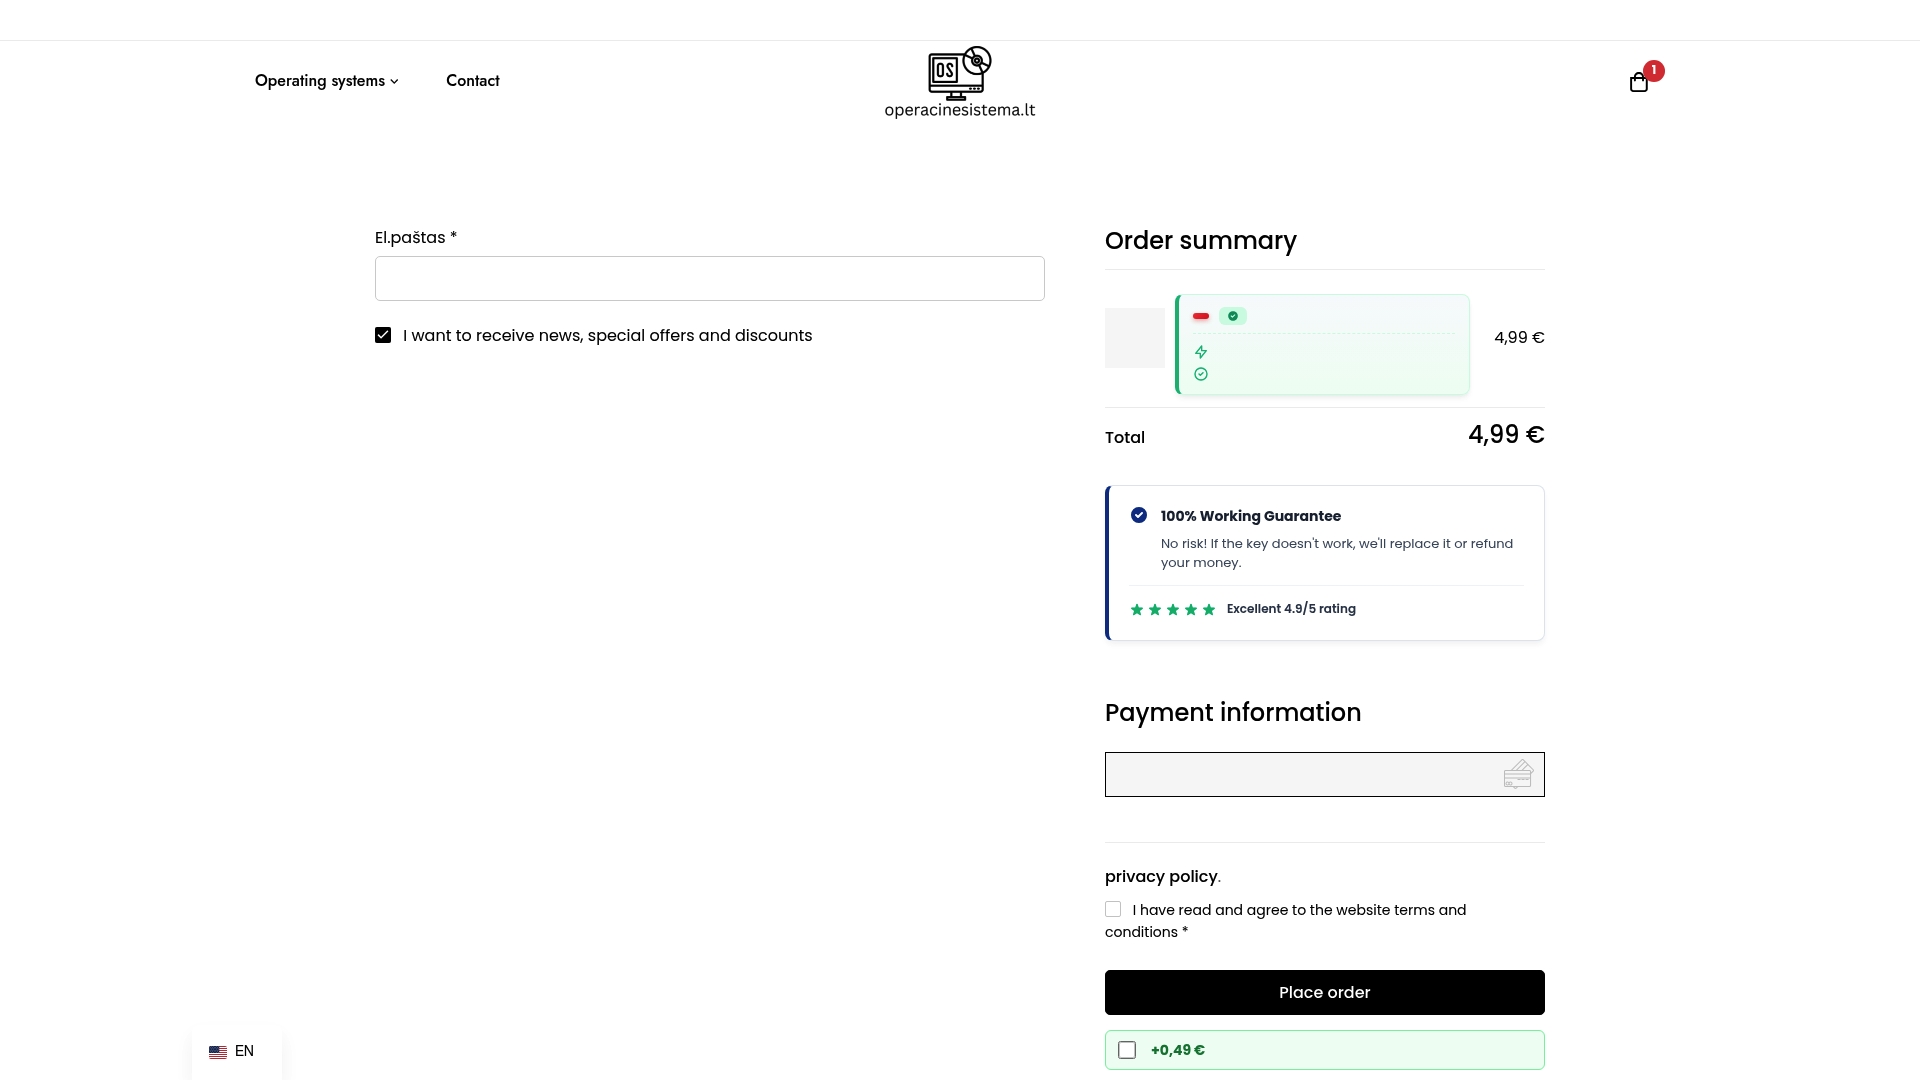
Before purchasing licenses, always validate your Windows license key to confirm authenticity. This simple step prevents costly mistakes and ensures seamless activation across your infrastructure. When you buy Windows 11 Pro digital key from established vendors, you gain peace of mind knowing your licenses are legitimate and supported.
Small business owners benefit from understanding compliance requirements through resources like the SMB software license compliance guide. Proper licensing protects your business from audits and legal complications while ensuring you receive security updates and technical support.
FAQ
What is the minimum hardware requirement for upgrading to Windows 11 in 2026?
Windows 11 requires a 1GHz dual-core 64-bit processor, 4GB RAM, and 64GB storage as baseline minimums. Your system also needs TPM version 2.0, UEFI firmware with Secure Boot capability, and a DirectX 12 compatible graphics card. Most computers manufactured after 2018 meet these requirements, but older systems may need hardware upgrades. Check the official Windows 11 hardware requirements page for complete specifications and compatibility tools.
How do I troubleshoot Windows activation errors after upgrading?
Start by validating your license key to ensure it’s genuine and not already activated on another device. Activation errors often relate to invalid keys or network issues during activation. Check your internet connection and try activating again after restarting your router. If the error persists, use the Activation troubleshooter in Settings under System, Activation, which can resolve most common issues automatically. For persistent problems, contact Microsoft support or your license provider with your product ID and error code for assistance.
What licensing options are best for SMBs upgrading to Windows 11 in 2026?
Small businesses with 5-10 devices typically benefit from OEM or retail licenses purchased individually, offering flexibility and lower upfront costs. Organizations with more than 10 devices should consider volume licensing programs like Microsoft 365 Business Premium, which bundles Windows 11 Pro with productivity apps and simplified management. SMB compliance guides recommend volume licensing for multi-device environments because it reduces per-unit costs and simplifies license tracking. Consult the software license checklist for SMBs to determine which licensing model aligns with your business size and growth plans.
How long does a typical Windows 11 upgrade take from start to finish?
The actual installation process takes 30-90 minutes depending on your hardware speed, storage type (SSD vs HDD), and data volume. However, you should budget 3-4 hours total when including preparation, backup creation, the upgrade itself, and post-installation verification. Systems with SSDs and modern processors complete faster, while older hardware or large data volumes extend the timeline. Plan for additional time if you encounter driver issues or need to reinstall applications that don’t transfer properly during the upgrade process.
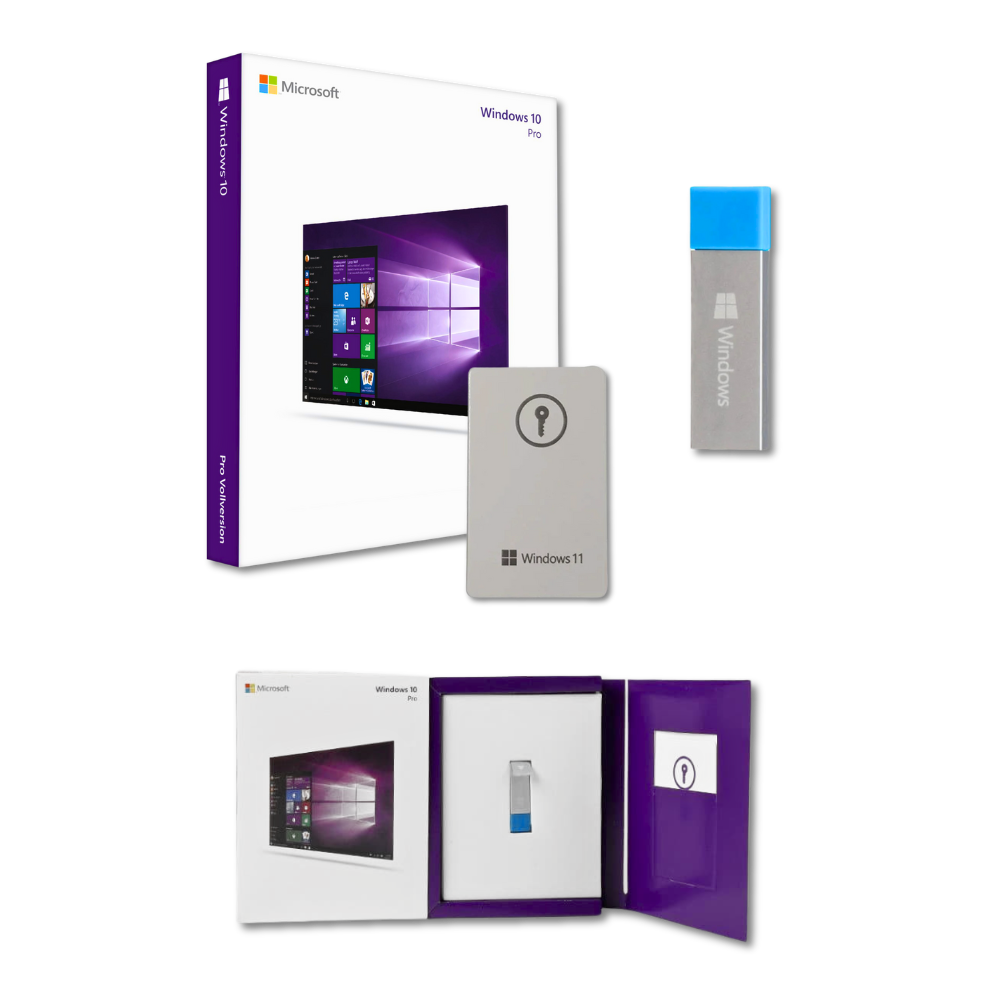
Can I roll back to Windows 10 if the Windows 11 upgrade causes problems?
Yes, Windows provides a 10-day rollback window after upgrading to Windows 11. Go to Settings, System, Recovery and select “Go back” to return to your previous OS version. This option preserves your files but removes apps installed after the upgrade. After 10 days, Windows automatically deletes the rollback files to free disk space, making rollback impossible without restoring from your backup. This is why creating a complete system backup before upgrading is critical. If you need to downgrade after 10 days, you’ll need to perform a clean installation of Windows 10 and restore your data from backup.
Should I upgrade all business systems simultaneously or phase the rollout?
Phased rollouts significantly reduce risk for business environments. Start with 2-3 non-critical systems to identify potential issues before upgrading your entire infrastructure. This approach lets you test application compatibility, refine your upgrade process, and train users gradually. Upgrade IT staff machines first so they can troubleshoot issues before end users encounter them. Plan to complete the full rollout over 2-4 weeks depending on your organization size, allowing time to address problems without overwhelming your support resources. Document lessons learned from each phase to improve subsequent upgrades and build a knowledge base for future OS transitions.
Empfohlen
- Win 10 auf 11 aktualisieren - Schritt für Schritt für ein sicheres Upgrade
- Upgrade des Betriebssystems für Secure Windows Pro
- Kostenloses Update auf Windows 11: Schritt-für-Schritt-Anleitung
- Warum die Aktualisierung Ihres Betriebssystems im Jahr 2026 wichtig ist
- POS system upgrade workflow: 50% less downtime in 2026
- Content Update Workflow WordPress: Efficient Step Guide – WPCTO