Operētājsistēmas atbloķēšana: visaptverošs ceļvedis par to, kā aktivizēt Windows 11
Jums ir Windows 11 vai arī plānojat to iegādāties. Tas ir forši. Bet ko darīt, ja tā nedarbojas pilnībā vai vēlaties pārliecināties, vai jums ir pareizā versija? Noskaidrot, kā aktivizēt Windows 11, var šķist sarežģīti, īpaši ņemot vērā dažādos licenču veidus un jaunināšanas veidus. Šī rokasgrāmata ir sagatavota, lai soli pa solim to izskaidrotu, lai jūs varētu pareizi un bez galvassāpēm iedarbināt operētājsistēmu. Mēs aplūkosim likumīgas licences iegūšanu, produkta atslēgas ievietošanu, jaunināšanu uz Pro un pārbaudi, vai viss ir kārtībā.
Windows 11 Pro
Galvenie secinājumi
- Vienmēr iegādājieties Windows 11 licenci no oficiāliem avotiem, piemēram, Microsoft veikala, lai izvairītos no viltotām atslēgām, kas var beigt darboties.
- Operētājsistēmu Windows 11 var aktivizēt, izmantojot 25 rakstzīmju produkta atslēgu iestatīšanas laikā vai vēlāk, izmantojot programmu Iestatījumi.
- Atjaunināšana no Windows 11 Home uz Pro ir vienkārša, izmantojot Microsoft veikalu, un tā ļauj atslēgt vairāk funkciju bez pilnīgas pārinstalēšanas.
- Pārbaudiet aktivizēšanas statusu sadaļā Iestatījumi > Sistēma > Aktivizēšana, lai pārliecinātos, ka jūsu Windows 11 kopija ir īsta un atjaunināta.
- Mazumtirdzniecības licences var pārvietot uz jaunu datoru, bet OEM licences ir piesaistītas oriģinālajai aparatūrai, un tās nevar pārvietot.
Īstas Windows 11 licences iegāde
Pirmais solis, lai pareizi izmantotu operētājsistēmu Windows 11, ir likumīgas kopijas iegūšana. Tas varētu šķist vienkārši, taču noteikti ir dažas kļūdas, no kurām jāuzmanās. Vēlaties pārliecināties, ka iegādātā licence ir īsta, lai pēc laika nesabojātu deaktivizētu sistēmu. Licences avots ir tikpat svarīgs kā pati programmatūra.
Izpratne par uzticamiem pirkuma kanāliem
Ja meklējat Windows 11 licenci, visdrošākais risinājums ir izvēlēties oficiālas vai labi zināmas vietas. Šādā veidā varat būt droši, ka saņemat īstas licences un Microsoft tās atbalstīs. Tas nozīmē, ka vēlāk būs mazāk galvassāpju.
Šeit ir norādītas labākās vietas, kur meklēt:
- Microsoft veikals: Digitālo licenci varat iegādāties tieši Microsoft vietnē vai Microsoft veikala lietotnē, kas jau ir jūsu datorā. Tā ir īpaši droša, un atslēga parasti ir saistīta ar jūsu Microsoft kontu, tāpēc aktivizēšana ir vienkārša.
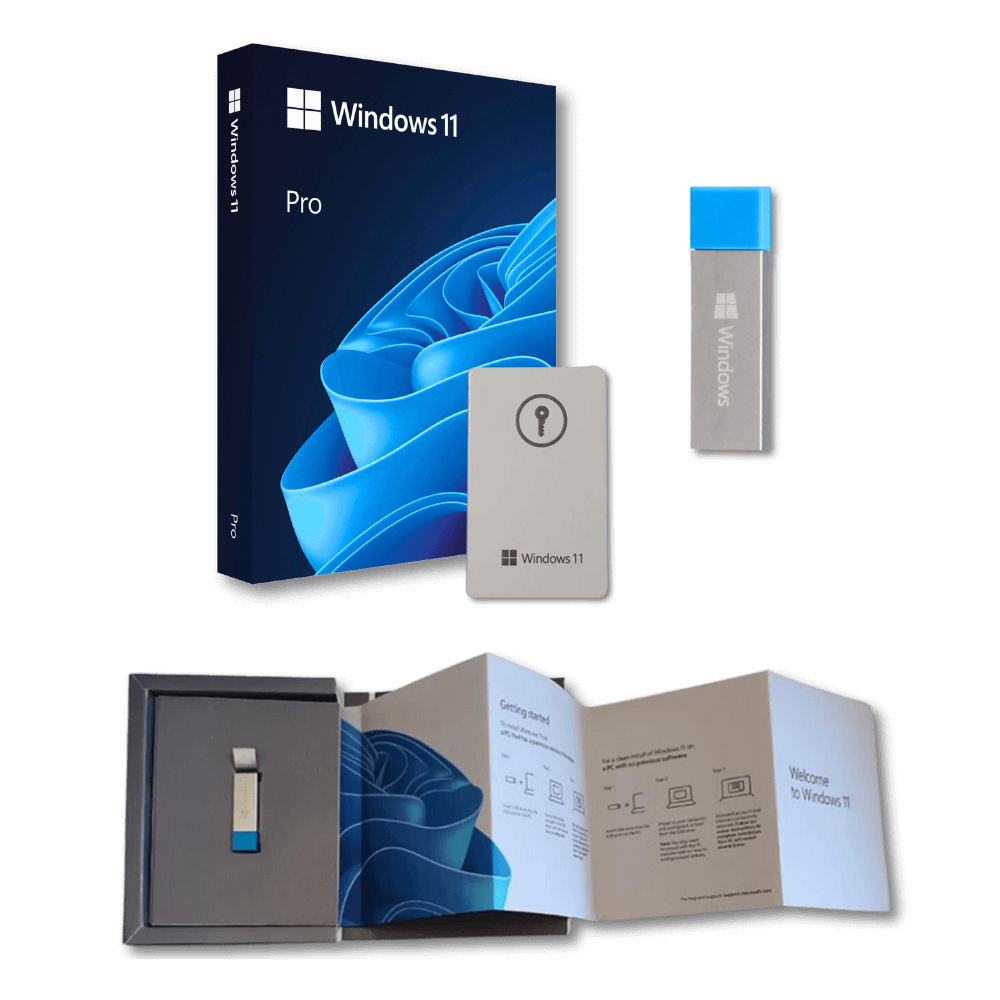
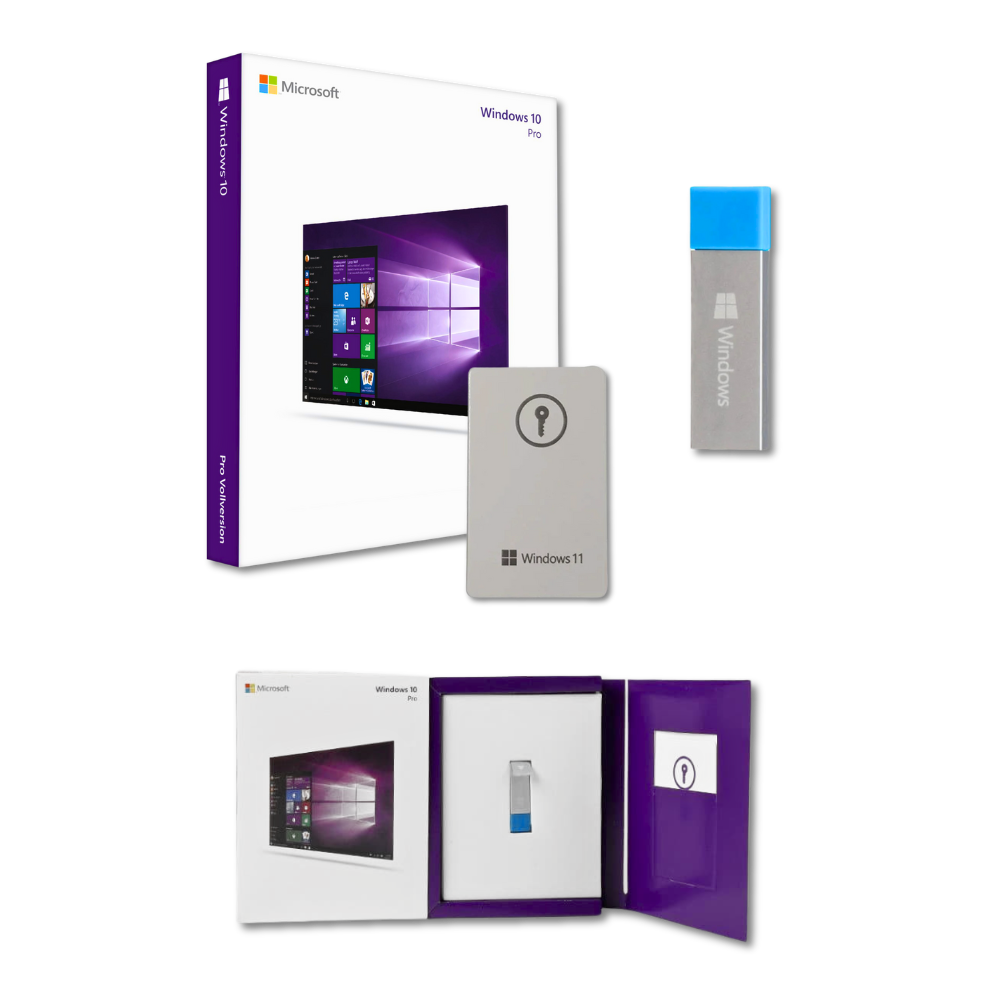
- Autorizētie mazumtirgotāji: Lielos, cienījamos elektronikas veikalos gan tiešsaistē, gan fiziskos veikalos tiek pārdotas legālas Windows 11 kopijas. Tās var būt kastītē ar USB disku vai tikai digitālo lejupielādes kodu. Vienkārši izvēlieties lielos zīmolus, kurus pazīstat un kuriem uzticaties.
- Tieši no datoru ražotājiem: Ja pērkat jaunu datoru, bieži vien Windows 11 ir iepriekš instalēta. Tā ir OEM licence, kas ir piesaistīta konkrētajam datoram.
Windows 11 Pro
Windows 11 aktivizēšana, izmantojot produkta atslēgu
Tātad esat ieguvis savu jauno Windows 11 licences atslēgu, un tagad ir pienācis laiks to sākt izmantot datorā. Šī ir tā daļa, kurā jūs paziņojat Microsoft: “Jā, šī kopija ir legāla!”. Tas nav īpaši sarežģīti, taču ir vairāki veidi, kā to izdarīt, atkarībā no tā, kad ievadāt 25 rakstzīmju kodu.
Produkta atslēgas ievadīšana iestatīšanas laikā
Ja veicat svaigu Windows 11 instalēšanu, iestatīšanas process parasti jau sākumā pieprasa produkta atslēgu. Bieži vien tā ir viena no pirmajām lietām, kas tiek prasīta pēc tam, kad esat izvēlējies valodu un reģionu. Vienkārši ievadiet to, kad tas tiek prasīts. Šis ir visvienkāršākais veids, kā aktivizēt, ja jums ir gatava atslēga. Ja šo soli izlaižat, nevajag uztraukties - to vienmēr varat aktivizēt vēlāk, izmantojot iestatījumus, kuriem mēs pievērsīsimies.
Aktivizēšana pēc jaunas instalēšanas
Dažkārt, iespējams, pārāk ātri noklikšķinājāt uz iestatīšanas programmas vai iegādājāties licenci pēc Windows instalēšanas. Nav jāuztraucas, aktivizēšana pēc tam ir tikpat vienkārša. Jums būs jādodas uz Windows iestatījumiem.
Lūk, kā to izdarīt:
- Atveriet programmu Iestatījumi. Ātrākais veids ir nospiest
Windows taustiņš + Iuz tastatūras. - Logā Iestatījumi meklējiet
Sistēmakreisajā sānu izvēlnē un noklikšķiniet uz tās. - Ritiniet lejup pa galveno paneli, līdz atrodat
Aktivizēšanaun izvēlieties to. - Aktivizēšanas ekrānā redzēsiet savu pašreizējo statusu. Meklējiet opciju, kurā ir norādīts
Produkta atslēgas maiņaun noklikšķiniet uz tā. - Parādīsies neliels logs, kurā tiks pieprasīta jūsu produkta atslēga. Uzmanīgi ievadiet savu 25 burtu un ciparu burtu atslēgu, pēc tam noklikšķiniet uz
Nākamais.
Pēc tam operētājsistēma Windows pārbaudīs atslēgu, un, ja tā būs derīga, jūsu kopija tiks aktivizēta. Lai tas darbotos, var būt nepieciešams interneta savienojums.
Produkta atslēgas maiņa iestatījumos
Ko darīt, ja nepieciešams pārslēgt taustiņus? Varbūt jūs esat pārgājis no Home uz Pro vai kāda cita iemesla dēļ esat saņēmis jaunu atslēgu. Process ir gandrīz tāds pats kā aktivizēšana pēc instalēšanas. Jūs atgriezīsieties tajā pašā Aktivizēšana sadaļā un Iestatījumi (Iestatījumi > Sistēma > Aktivizēšana).
Tā vietā, lai vienkārši aktivizētu, jūs izmantosiet Produkta atslēgas maiņa iespēja vēlreiz. Šeit varat ievadīt jaunu atslēgu, ja vēlaties nomainīt pašlaik ar instalāciju saistīto atslēgu. Tas ir labs veids, kā pārvaldīt savu licenci, ja kādreiz nepieciešams to atjaunināt vai pāriet uz citu Windows 11 versiju.
Windows 11 Pro
Ir svarīgi atcerēties, ka jūsu produkta atslēga ir unikāla jūsu licencei. Izmantojot atslēgu, kas jau ir aktivizēta citā datorā, vai atslēgu, kas nav paredzēta jūsu reģionam vai izdevumam, var rasties aktivizēšanas problēmas. Vienmēr izmantojiet atslēgu, kas ir pievienota likumīgajam pirkumam.
Atjaunināšana uz operētājsistēmu Windows 11 Pro
Jums ir instalēta operētājsistēma Windows 11 Home un jūs domājat par pāreju uz Pro? Tas ir diezgan izplatīts solis, jo īpaši, ja jums nepieciešamas tādas funkcijas kā BitLocker diska šifrēšana vai iespēja izveidot savienojumu ar domēnu. Labā ziņa ir tā, ka Microsoft šo pāreju padara diezgan vienkāršu.
Nevainojama jaunināšana no operētājsistēmas Windows 11 Home
Ja datorā jau ir aktivizēta operētājsistēmas Windows 11 Home kopija, jaunināšana uz Pro versiju parasti nav sarežģīta. Jums nav nepieciešams izdzēst sistēmu un sākt visu no jauna, kas vienmēr ir atvieglojums. Faili, programmas un iestatījumi parasti paliek tur, kur tie ir. The process essentially just adds the Pro features on top of your existing Home installation. It’s designed to be a smooth transition, letting you get to work with the new capabilities quickly.
Purchasing An Upgrade License Via Microsoft Store
The easiest way to get your hands on a Windows 11 Pro license for an upgrade is directly through the Microsoft Store. It’s integrated right into Windows itself. Here’s how you typically do it:
- Atvērt Iestatījumi on your Windows 11 Home PC.
- Dodieties uz Sistēma, then click on Aktivizēšana.
- Look for an option that says something like “Upgrade your edition of Windows” or “Go to the Store.”
- Clicking that will open the Microsoft Store to the Windows 11 Pro upgrade page.
- Follow the prompts to purchase the license. Once the payment goes through, Windows will automatically download and apply the upgrade. You might need to restart your PC afterward.
This method is pretty foolproof because it ties the license directly to your Microsoft account, making future activations easier.
Windows 11 Pro
Unlocking Advanced Features Through Upgrade
What exactly do you get when you move from Home to Pro? Well, it’s more than just a different name. Pro brings a set of tools that are really useful for businesses or power users. For instance, BitLocker is a big one, letting you encrypt your entire hard drive to keep your data safe if your laptop gets lost or stolen. Then there’s Remote Desktop, which lets you connect to your PC from another device, handy if you need to access files while you’re away from your desk. You also get access to Hyper-V for running virtual machines, Windows Update for Business policies, and the ability to join an Azure Active Directory or a standard domain. These aren’t things most casual users need, but if you do, the upgrade is definitely worth considering.
It’s important to remember that while the upgrade process is usually smooth, having a stable internet connection and being signed into your Microsoft account can help prevent hiccups. Sometimes, especially with older hardware or specific configurations, you might run into minor issues, but generally, the path from Home to Pro is well-trodden and reliable.
Verifying Your Windows 11 Activation Status
So, you’ve gone through the process of getting Windows 11 set up, maybe you just installed it, or perhaps you upgraded. Now, how do you actually know if it’s properly activated? It’s not exactly a flashing neon sign, but checking is pretty straightforward. Making sure your Windows 11 is activated is key to getting all the latest security updates and features.
Checking Activation In System Settings
This is the most direct way to see where things stand. You don’t need to be a tech wizard for this. Just follow these simple steps:
- Atveriet programmu Iestatījumi. Ātrākais veids ir nospiest
Windows taustiņš + Iuz tastatūras. - Logā Iestatījumi meklējiet
Sistēmakreisajā sānu izvēlnē un noklikšķiniet uz tās. - Scroll down the list of options on the right until you find
Aktivizēšana. Click on that.
Right there, you’ll see a clear message telling you if Windows is activated. It’s usually pretty obvious – either it says “Windows is activated” or it tells you what’s needed.
Windows 11 Pro
Understanding Activation Status Indicators
When you’re in the Activation settings, you’ll see a few different messages. Most of the time, it’s good news. You might see:
- Activated: This is what you want to see! It means your copy of Windows is genuine and linked to your license. If it says “Windows is activated with a digital license” or “Windows is activated with your organization’s activation service,” you’re all set.
- Not Activated: This means something went wrong, or you haven’t entered a product key yet. You’ll likely see options to activate it here.
- Activation Pending: Sometimes, especially after a hardware change or a recent install, Windows might need a little more time to connect to Microsoft’s servers and confirm your license. Give it a bit and check again.
If you see a specific error code, don’t panic. These codes are actually helpful. They often point directly to the problem, whether it’s a network issue, a problem with your product key, or something else. A quick search for the code can usually point you in the right direction for a fix.
Troubleshooting Activation Issues
Sometimes, even with a valid key, activation can hit a snag. It’s usually not a big deal, and there are a few common fixes.
- Run the Activation Troubleshooter: If you see that Windows isn’t activated, there’s usually a “Troubleshoot” option right there in the Activation settings. Click it, and Windows will try to figure out the problem and fix it automatically. This is especially useful if you’ve recently made significant hardware changes to your PC.
- Check Your Product Key: Double-check that you entered the 25-character product key correctly. Typos happen! If you bought a digital license, make sure you’re signed in with the Microsoft account associated with that license.
- Verify Your Internet Connection: Activation requires a stable internet connection to communicate with Microsoft’s servers. Make sure you’re online and your connection is working properly.
- Contact Microsoft Support: If none of the above works, it might be time to reach out to Microsoft’s support team. They can look into your specific license and help you resolve any lingering activation problems.
Windows 11 Pro
Understanding License Types And Transfers
So, you’ve got Windows 11, but what kind of license are you actually using? It might not seem like a big deal now, but knowing the difference between license types can save you a lot of headaches later, especially if you ever plan on moving your Windows installation to a new computer. It really boils down to two main types for most folks: Retail and OEM.
Retail Licenses Versus OEM Licenses
Think of an OEM (Original Equipment Manufacturer) license like the engine that comes factory-installed in a new car. It’s built for that specific vehicle and is pretty much stuck there for good. When you buy a pre-built computer, it usually comes with an OEM license. This type of license is cheaper upfront, which is nice, but it’s permanently tied to the motherboard of the computer it was first installed on. If that motherboard dies, your license usually goes with it. You can’t just take it out and put it in a different PC. Support for these licenses also typically comes from the computer manufacturer, not directly from Microsoft.
On the flip side, a Retail license is more like buying a high-quality, portable GPS unit. You purchase it separately, and it gives you a lot more freedom. You can install it on your current PC, and if you decide to build a brand-new computer down the line, you can take that Retail license with you. This transferability is the biggest perk of a Retail license. While it usually costs a bit more than an OEM license, that flexibility can be worth it in the long run, especially if you like to upgrade your hardware regularly. Plus, if you run into any issues, you get direct support from Microsoft.
Transferring A Retail License To A New PC
Moving a Retail license to a new machine is generally pretty straightforward, especially if you’ve linked your license to your Microsoft account. When you set up your new PC, you can sign in with your Microsoft account, and Windows will often recognize your license and reactivate automatically. If it doesn’t, you can use the Activation Troubleshooter within Windows. It’s designed to help you sort out activation issues after a hardware change. Just make sure you deactivate the license on your old computer first to avoid any potential conflicts.
Limitations Of OEM License Transfers
Here’s the tough part about OEM licenses: they’re not transferable. Period. That license is legally bound to the original hardware it was installed on. So, if you upgrade a major component like the motherboard in your current PC, Windows will likely deactivate because it no longer recognizes the original hardware configuration. Trying to move an OEM license to a completely different computer is a non-starter. It’s a cost-saving measure for manufacturers, but it means you’re locked into that specific machine for the life of the license. If you’re building your own PC or plan on upgrading components frequently, opting for a Retail license from the start is usually the smarter move.
Windows 11 Pro
Preparing For Windows 11 Installation
So, you’re ready to jump into Windows 11? That’s cool. But before you hit that install button, let’s talk about making sure your computer is actually ready for it and what to do if things go sideways. It’s not just about downloading the latest thing; it’s about being prepared.
Checking System Requirements For Windows 11
First things first, does your computer even play nice with Windows 11? Microsoft put out some specific hardware requirements that are a bit stricter than Windows 10. You’ll need a compatible processor (generally 8th gen Intel or newer), TPM 2.0, and Secure Boot capability. If your machine is older, it might struggle or just not work at all. Microsoft has a tool called the PC Health Check app that you can download and run. It’ll scan your system and give you a clear yes or no on whether you’re good to go. Don’t skip this step; it could save you a lot of headaches later.
Creating Installation Media
Sometimes, you don’t want to just upgrade over your current Windows. Maybe you’re building a new PC, or you want a completely fresh start. In these cases, you’ll want to create installation media. Microsoft offers a couple of ways to do this on their download page:
- Windows 11 Installation Assistant: This is the easiest route if you’re upgrading from Windows 10 on a compatible PC. It basically guides you through the upgrade process.
- Create Windows 11 Installation Media: This tool lets you make a bootable USB drive or DVD. You can then use this to install Windows 11 on a new computer or do a clean install on your current one.
- Download Windows 11 Disk Image (ISO): If you’re a bit more tech-savvy, you can download an ISO file. This is useful for creating bootable media yourself or for setting up a virtual machine.
Remember, if your PC doesn’t meet the minimum requirements, Microsoft advises against installing Windows 11. Doing so might mean you won’t get updates and could run into compatibility problems. Your warranty might also not cover any damage that occurs.
Understanding Installation Options
When you’re actually installing Windows 11, you’ll have a few choices. The most common is the upgrade path, where Windows 11 replaces your current Windows 10 installation. This usually keeps your files and apps, but it’s always a good idea to back things up anyway. If you choose to do a clean install using the media you created, you’ll wipe your drive and start fresh. This is great for getting rid of old junk and potential issues, but you’ll need to reinstall all your programs and copy your files back. There’s also the option to reset Windows 11 after it’s installed, which can fix problems or prepare the PC for a new owner. You can choose to keep your files or remove everything, and then decide between a cloud download or a local reinstall. If you’re selling the PC, you might want to use the ‘clean the drive’ option, though it takes a while.
Windows 11 Pro
Wrapping It Up
So, there you have it. Getting Windows 11 activated is pretty straightforward once you know the steps. Whether you’re starting fresh with a new PC or upgrading an existing one, the process is designed to be quick. Remember, using a genuine license not only unlocks all the features but also keeps your system secure with important updates. If you ever run into trouble, don’t forget there are resources available to help you out. Now go enjoy your fully activated Windows 11 experience!
Biežāk uzdotie jautājumi
Where is the best place to buy a Windows 11 license?
To make sure you get a real, working license, it’s best to buy from official places like the Microsoft Store. Avoid super cheap deals on websites you don’t know, as they might be fake and stop working later.
How do I activate Windows 11 if I already have it installed?
If you need to activate Windows 11 after it’s installed, just go to Settings. Click on ‘System,’ then ‘Activation.’ You’ll see an option to ‘Change product key.’ Enter your 25-character code there, and Windows will activate.
Can I upgrade from Windows 11 Home to Pro easily?
Yes! Upgrading from Windows 11 Home to Pro is pretty simple. You can buy an upgrade license right from the Microsoft Store within Windows. It’s a smooth process that adds Pro features without needing to reinstall everything.
How can I check if my Windows 11 is activated?
You can easily check your activation status in Windows Settings. Go to ‘System’ and then click on ‘Activation.’ It will clearly show you if your copy of Windows is activated or not.
What’s the difference between a Retail and an OEM Windows license?
A Retail license is one you buy separately, and you can move it to a new computer. An OEM license comes pre-installed with a new PC and is stuck to that computer’s main board; you can’t move it.
What should I do if my Windows 11 won’t activate?
If activation isn’t working, first double-check that you typed your product key correctly. You can also try using the troubleshooter in the Activation settings. If problems continue, contacting Microsoft Support might be the next best step.