Install Windows 11: Step-by-step guide for secure upgrades
TL;DR:
- Upgrading to Windows 11 requires meeting strict hardware specifications and passing compatibility checks.
- Users should choose the proper installation method and back up data before proceeding.
- Bypassing requirements risks security, update access, and long-term system stability.
Upgrading to Windows 11 feels straightforward until you hit the first roadblock. Strict hardware requirements, TPM 2.0 checks, and questions about license legitimacy catch many users off guard. Whether you are upgrading a business fleet or refreshing a personal PC, getting this wrong can mean wasted time, security gaps, or an unactivated system. This guide walks you through every stage: checking compatibility, picking the right installation method, following the actual steps, and avoiding the traps that trip up even experienced users. You will also learn how to spot a genuine license and why that matters more than most people realize.
Inhaltsübersicht
- Check compatibility and gather requirements
- Choose your installation or upgrade method
- Step-by-step installation instructions
- Troubleshooting, bypasses, and recognizing risks
- Why security and support matter more than shortcuts
- Get genuine Windows 11 licenses and secure your upgrade
- Frequently asked questions
Wichtigste Erkenntnisse
| Punkt | Einzelheiten |
|---|---|
| Check compatibility first | Verifying hardware and system requirements prevents upgrade failures and wasted time. |
| Choose a supported method | Upgrading via Windows Update is safest; clean install offers flexibility but requires data backup. |
| Use official tools and sources | Always create bootable media from trusted downloads and buy licenses from authorized sellers. |
| Beware of unsupported bypasses | Skipping Windows 11 requirements may compromise security features and block updates. |
| Activate and verify legality | After installation, ensure proper activation with a genuine product key for compliance and support. |
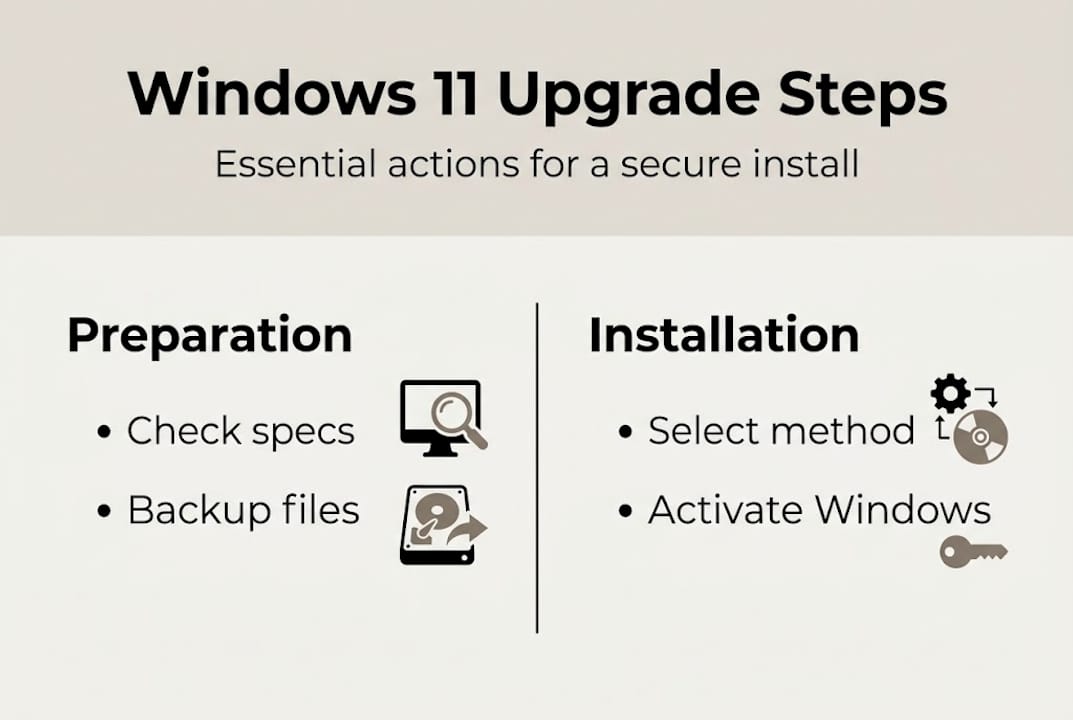
Check compatibility and gather requirements
Before you download anything, confirm your PC can actually run Windows 11. Microsoft enforces hardware requirements more strictly than it did for Windows 10, and skipping this check is the number one reason upgrades fail.
Here is the full list of minimum system requirements you need to meet:
| Requirement | Minimum spec |
|---|---|
| Processor | 1 GHz, 64-bit, 2+ cores (supported CPU list) |
| RAM | 4 GB |
| Storage | 64 GB |
| Firmware | UEFI with Secure Boot capable |
| TPM | TPM 2.0 |
| Graphics | DirectX 12 with WDDM 2.0 driver |
| Display | HD (720p), >9 inches |
| Internet | Required for setup with a Microsoft account |
Not sure if your machine qualifies? The fastest way to find out is to run PC Health Check before you do anything else. Download it from Microsoft, run the tool, and it will tell you exactly which requirements your PC passes or fails. This takes about two minutes and saves hours of frustration.
Once you know your PC qualifies, work through this preparation checklist:
- ✅ Back up all important data to an external drive or cloud storage
- ✅ Verify your current Windows license is genuine and activated
- ✅ Note your product key or confirm it is tied to your Microsoft account
- ✅ Download installation media only from official Microsoft sources
- ✅ Plug in your laptop or ensure desktop power is stable during install
- ✅ Check available disk space (64 GB minimum, 128 GB recommended)
Pro Tip: Even if you are doing a simple upgrade rather than a clean install, always back up first. Upgrades can fail mid-process, and recovery without a backup is painful.
For a full breakdown of the free Windows 11 upgrade steps, including what to expect at each stage, check our dedicated guide. You can also review all Windows 11 install methods directly from Microsoft to understand your options before committing.
With requirements clarified, the next step is choosing your installation path.
Choose your installation or upgrade method
There are three main ways to get Windows 11 on your machine. Each suits a different situation. Picking the wrong one wastes time or risks your data.
| Methode | Best for | Keeps files? | Risk level |
|---|---|---|---|
| Windows Update | Compatible PCs upgrading from Win 10 | Ja | Niedrig |
| Installationsassistent | Compatible PCs not offered update yet | Ja | Niedrig |
| Clean install (USB/ISO) | New PCs, full refresh, unsupported hardware | Von | Mittel |
According to Microsoft’s official guidance, the primary methods are Windows Update, the Installation Assistant, and installation media for clean installs or new PCs.
Option 1: Windows Update (easiest)
- Open Settings > Windows Update
- Click “Check for updates”
- If eligible, you will see “Windows 11 is ready” — click Download and install
- Wait for the download, then restart when prompted
Option 2: Installation Assistant
- Download the Windows 11 Installation Assistant from Microsoft
- Run it and accept the license terms
- It will verify compatibility, download the upgrade, and install automatically
- Restart when complete
Option 3: Clean install via USB
- Download the Media Creation Tool or ISO from Microsoft
- Create a bootable USB drive (8 GB minimum)
- Boot your PC from the USB
- Follow the on-screen setup and choose your drive
🛑 Security warning: If your hardware is not officially supported, Microsoft will flag your install as unsupported. This can block future updates and disable security features. Only proceed with unsupported installs if you fully understand the tradeoffs.
For those upgrading from Windows 10 with a valid license, the secure upgrade path is the safest and fastest route. If you are doing a clean install on a new build, review this clean install guide for detailed steps.

After choosing a method, the next step is to follow the installation instructions.
Step-by-step installation instructions
Let’s walk through both main scenarios: upgrading an existing PC and doing a fresh clean install.
Upgrade from Windows 10 (using Windows Update or Installation Assistant)
- Confirm your PC passes the PC Health Check
- Back up your files (seriously, do not skip this)
- Open Windows Update or run the Installation Assistant
- Let the process complete, this usually takes 30 to 60 minutes
- Restart and sign in to your Microsoft account
- Go to Settings > System > Activation to confirm Windows 11 is activated
Clean install (using Media Creation Tool or ISO)
For a clean install, download the ISO or Media Creation Tool, create a bootable USB, boot from it, and format your drive if you want a truly fresh start.
- Download the Media Creation Tool from the official download page
- Insert a USB drive (8 GB or larger) and run the tool
- Select “Create installation media” and follow the prompts
- Restart your PC and enter BIOS/UEFI to set USB as the first boot device
- Boot from USB and select “Install now”
- Choose “Custom” install to format your drive for a clean start
- Enter your product key when prompted, or skip and activate later
Regarding licenses: genuine licenses are free if you are upgrading from an activated Windows 10 system. For new builds or custom PCs, you need to purchase a license and enter the product key during or after setup.
Pro Tip: Use Rufus instead of the Media Creation Tool if you need more control over the USB creation process, especially for clean installs on older hardware. Always download tools from official or well-known trusted sources only.
After installation, run through this checklist:
- ✅ Activation confirmed in Settings > System > Activation
- ✅ Windows Update run to install the latest patches
- ✅ Drivers updated (especially GPU, network, and audio)
- ✅ Security features like BitLocker and Windows Defender enabled
For a full walkthrough of activation, visit our Windows 11 activation guide. For verified download sources, check our secure download instructions.
Once Windows 11 is installed, it is important to check your system’s status and resolve any issues.
Troubleshooting, bypasses, and recognizing risks
Installation errors happen. Here are the most common ones and what to do about them.
Common errors:
- 🛑 TPM 2.0 not detected — Check BIOS settings; TPM may be disabled and can be enabled under Security settings
- 🛑 Secure Boot not enabled — Switch your BIOS from Legacy/CSM mode to UEFI mode
- 🛑 CPU not supported — Your processor is not on Microsoft’s approved list; upgrade hardware or consider a bypass (with caution)
- 🛑 Not enough disk space — Free up storage or upgrade your drive before proceeding
- 🛑 Installation fails mid-process — Disconnect external drives, disable antivirus temporarily, and retry
Some users turn to bypass methods when their hardware fails the checks. Bypassing TPM or Secure Boot using tools like Rufus or registry edits is technically possible, but it comes with real consequences.
⚠️ Risk warning: Unsupported installs may lose access to future Windows updates, have reduced security protections, and may not qualify for Microsoft support. Features like BitLocker encryption could behave unpredictably.
Official sources are clear that unsupported installs leave your system in an “unsupported” state, meaning Microsoft does not guarantee updates or stability.
Pro Tip: Before bypassing any requirement, ask yourself whether the short-term convenience is worth the long-term security risk. For business machines especially, the answer is almost always no.
Also, watch out for fake activation keys. They might activate Windows temporarily, but they get blocked. Learn about the risks of free keys and what free activation options are actually legitimate before you take any shortcuts.
With challenges addressed, it is useful to reflect on the real-world lessons from both supported and unsupported installations.
Why security and support matter more than shortcuts
Here is the uncomfortable truth: most people who bypass Windows 11 requirements do it because they want to avoid buying new hardware or a new license. That is understandable. But the tradeoff is rarely worth it.
We have seen it repeatedly. A user bypasses TPM and Secure Boot to install Windows 11 on an older machine. Everything seems fine for a few months. Then a major update fails. BitLocker stops working correctly. The machine becomes a liability, not an asset.
Security features like TPM 2.0 and Secure Boot are not marketing buzzwords. They protect your data from firmware-level attacks, a threat that is growing every year. Skipping them is like removing the lock from your front door because it is slightly inconvenient.
The recommended path is clear: check compatibility, back up your data, and favor supported upgrades whenever possible. If your hardware genuinely cannot support Windows 11, the honest answer is to upgrade it or invest in a licensed copy for a machine that can.
For business owners, this is even more critical. An unactivated or unsupported system can expose you to compliance risks. Understand the activation risks explained in detail before making any decisions. Long-term stability always beats short-term speed.
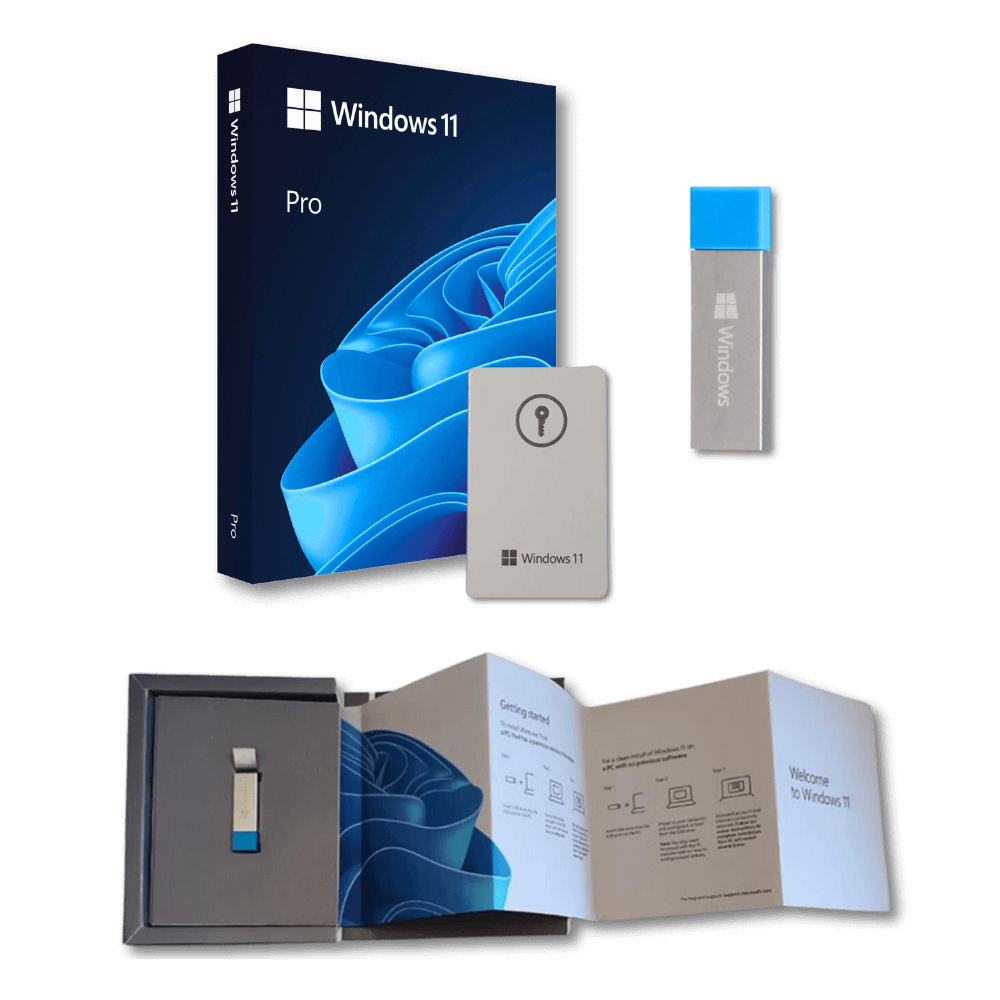
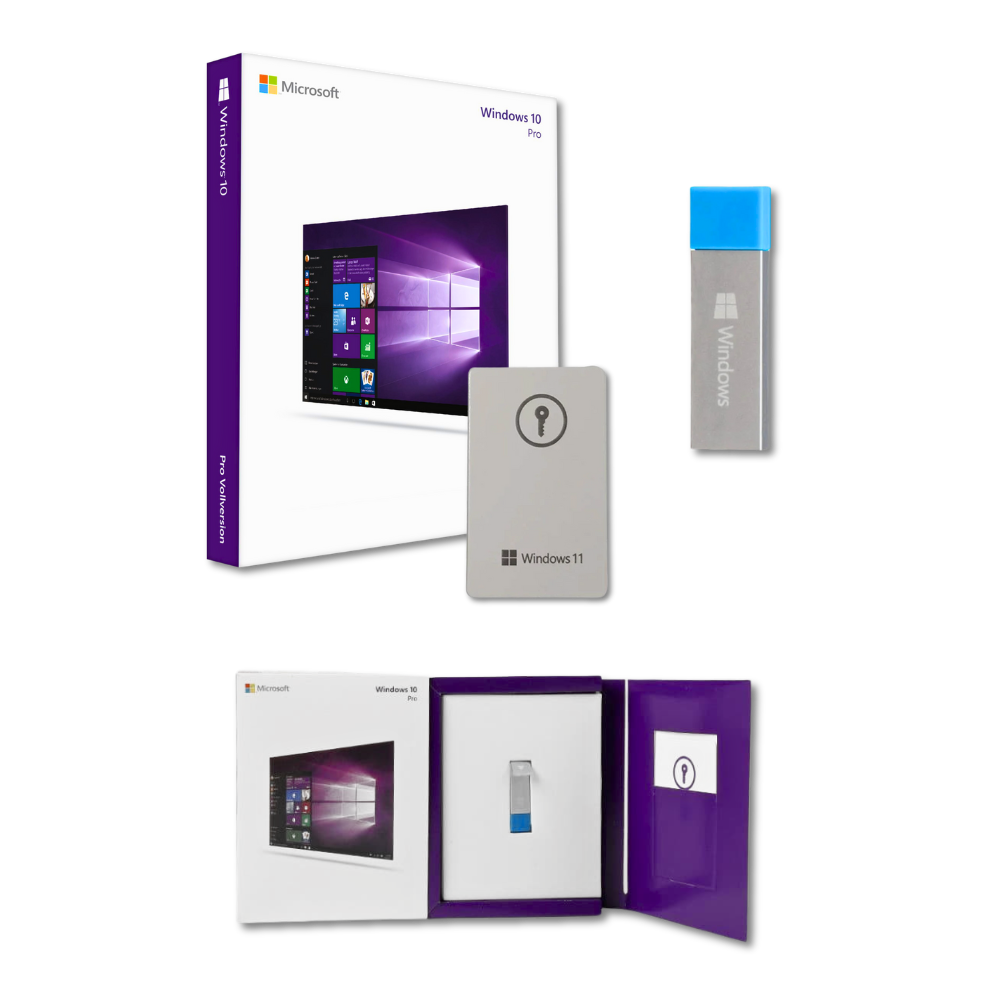
Get genuine Windows 11 licenses and secure your upgrade
You have done the hard work: checked compatibility, chosen your method, and followed the steps. Now make sure your license is as solid as your setup.
Unter operacinesistema.lt, we offer genuine Windows 11 Pro digital keys with instant email delivery, full activation support, and a 100% warranty. Whether you are a solo user or managing licenses for a small business, we make it easy to stay compliant. Not sure which license fits your needs? Compare license types to find the right match. Small business owners can also use our license checklist for SMBs to stay audit-ready. Ready to activate? Buy your Windows 11 digital key securely today. 🔥
Frequently asked questions
What are the minimum requirements to install Windows 11?
You need a compatible 64-bit processor, 4 GB RAM, 64 GB storage, UEFI/Secure Boot, TPM 2.0, DirectX 12 graphics, and a display over 9 inches. All requirements must be met for a supported install.
How can I check if my PC is compatible with Windows 11?
Download and run the PC Health Check app from Microsoft to get a full compatibility report before you start the upgrade process.
Is it possible to install Windows 11 on unsupported hardware?
Yes, tools like Rufus or registry edits can bypass TPM and Secure Boot checks, but unsupported installs risk losing future updates and security protections.
Where can I buy an official Windows 11 license?
Purchase from the Microsoft Store or authorized retailers to ensure your license is genuine and fully supported. Avoid unofficial sources to stay compliant.
What should I do if my upgrade fails or data is lost?
Restore your backup immediately or use Windows recovery tools. Always back up before upgrading so you have a safe fallback if something goes wrong.