Anleitung zur Installation des Betriebssystems: Sicheres Windows-Setup
A secure Windows installation starts with more than just the right files or hardware. Small mistakes in licensing, media preparation, or BIOS settings can create real headaches for even the most experienced users. By following a step-by-step approach to gathering a echte Windows-Lizenz, creating official installation media, and preparing your system, you help ensure a seamless and compliant setup whether you manage a single device or a global fleet. This guide guides you through every key phase, minimizing risks and saving time for professionals and business owners worldwide.
Inhaltsübersicht
- Step 1: Gather Genuine Windows License And Tools
- Step 2: Create Or Prepare Installation Media
- Step 3: Back Up Data And Configure Bios Settings
- Step 4: Install Windows Operating System
- Step 5: Verify Installation And Activate License
Kurze Zusammenfassung
| Kernpunkt | Erläuterung |
|---|---|
| 1. Acquire a Genuine Windows License | Purchase a legitimate Windows license from official sources to ensure compliance and security. |
| 2. Create Bootable Installation Media | Use the Windows Media Creation Tool or similar software to prepare a USB for installation. |
| 3. Backup Data Before Installation | Always back up critical data to prevent loss during installation or system changes. |
| 4. Configure BIOS for Installation | Adjust BIOS settings to prioritize booting from your installation media for a successful setup. |
| 5. Verify and Activate Windows | Ensure your Windows installation is activated using the correct product key and network connectivity. |
Step 1: Gather Genuine Windows License and Tools
Successfully installing a Windows operating system requires obtaining a legitimate license and preparing the right installation tools. This initial step ensures you have everything necessary for a secure and compliant setup.
To begin, you’ll want to acquire an official Windows license key through authorized channels. Microsoft provides multiple methods for obtaining genuine licenses, including volume licensing verification methods that guarantee authenticity. Consider the following approaches:
- Purchase a license directly from Microsoft’s official website
- Acquire a license through your organization’s volume licensing program
- Buy a license from authorized resellers with documented provenance
A genuine Windows license is your first line of defense against potential security vulnerabilities and system instability.
After securing your license, gather the essential tools for installation:
- Download the official Windows ISO file from Microsoft’s website
- Prepare a USB installation media with at least 8GB capacity
- Download the Windows Media Creation Tool from Microsoft
- Verify the downloaded files match official Microsoft checksums
Professional users should always prioritize purchasing licenses from reputable sources to ensure complete system compatibility and ongoing support. Corporate environments typically use Key Management Service activation for streamlined deployments.
Profi-Tipp: Always keep your license key and purchase documentation in a secure, easily accessible location for future system recoveries or potential technical support inquiries.
Step 2: Create or Prepare Installation Media
Creating a bootable Windows installation USB is a crucial step in preparing for a clean operating system setup. This process allows you to transform a standard USB drive into a powerful installation tool that can boot and install Windows on your computer.
To get started, you’ll need a USB drive with at least 8GB of storage capacity. Microsoft provides multiple methods for creating bootable USB drives that work across different computer systems. Here are the primary approaches:
- Use the official Windows Media Creation Tool
- Utilize third-party tools like Rufus
- Manually create bootable media through command-line interfaces
Ensure your USB drive is formatted and ready before beginning the installation media creation process.
Follow these specific steps to prepare your installation media:
- Download the Windows Media Creation Tool from Microsoft’s official website
- Connect your USB-Laufwerk to your computer
- Run the Media Creation Tool and select your USB as the installation media
- Choose the Windows version and edition you want to install
- Allow the tool to download and write installation files to the USB
Professional users should verify USB compatibility and ensure the drive meets minimum speed and capacity requirements. Some advanced users might prefer alternative bootable USB creation methods depending on their specific system configurations.

Here’s a quick comparison of popular methods for creating Windows installation media:
| Methode | Benutzerfreundlichkeit | Platform Compatibility | Customization Options |
|---|---|---|---|
| Windows Media Creation Tool | Very user-friendly | Windows only | Limited to official options |
| Rufus (third-party) | Moderately simple | Windows, Linux | Advanced partition settings |
| Manual Command Line | Advanced difficulty | Windows, Linux, macOS | Full custom setup capability |
Profi-Tipp: Always keep your original installation USB in a safe place after creating it, as it can be invaluable for future system repairs or reinstallations.
Step 3: Back Up Data and Configure BIOS Settings
Preparing your computer for a new operating system installation requires careful data preservation and precise hardware configuration. This critical step ensures you protect your existing files and optimize your system’s firmware settings for a smooth Windows installation.
Before making any changes, back up all critical data to an external storage device or cloud service. Configuring BIOS settings systematically involves accessing your computer’s firmware interface and adjusting key parameters. Depending on your computer manufacturer, you’ll access BIOS using different methods:
- Press F2, F10, F12, or Delete during system startup
- Use specific manufacturer key combinations
- Access UEFI settings through advanced Windows startup options
Secure and prepare your system configuration before initiating any major installation process.
Follow these detailed steps for comprehensive system preparation:
- Connect an external hard drive or cloud backup service
- Transfer all important documents, photos, and personal files
- Verify BIOS configuration settings for boot order and security
- Enable Sicherer Start und TPM Einstellungen
- Disable fast startup and hibernation modes
- Set USB or DVD as primary boot device
Professional users should create multiple backup copies and verify data integrity before proceeding. Advanced configurations might require additional systematic BIOS modifications depending on your specific hardware environment.
This reference summarizes common BIOS/UEFI keys by manufacturer for quick access:
| Manufacturer | Common BIOS Key | UEFI/Alternate Key |
|---|---|---|
| Dell | F2 | F12 |
| HP | F10 | Esc |
| Lenovo | F1, F2 | Fn+F2 |
| ASUS | Delete, F2 | Esc |
| Acer | F2 | Del or F12 |
Profi-Tipp: Take a photo of your current BIOS settings before making changes, providing a quick reference point if you need to revert to original configurations.
Step 4: Install Windows Operating System
Installing a new Windows operating system transforms your computer’s functionality and prepares it for optimal performance. This crucial phase requires careful attention to detail and systematic execution to ensure a smooth, successful installation.
Windows installation involves several precise steps that differ slightly depending on your specific hardware configuration. Before beginning, verify that your computer meets the minimum system requirements for the Windows version you’re installing. You’ll want to have your installation media (USB or DVD) ready and your BIOS configured to boot from the correct device:
- Ensure installation media is properly connected
- Check computer meets Windows system requirements
- Verify BIOS boot sequence is correct
- Have your Produktschlüssel available
- Close all background applications
Patience and careful following of instructions are key to a successful Windows installation.
Follow these comprehensive installation steps:
- Insert your Windows installation USB or DVD
- Restart your computer and boot from installation media
- Select your language and region preferences
- Wählen Sie custom installation for a clean setup
- Select the drive where Windows will be installed
- Allow the system to copy files and perform initial configuration
- Create or sign in with your Microsoft account
- Configure privacy settings and additional preferences
Professional users should monitor the entire installation process carefully. The installation procedure requires systematic approach to minimize potential complications and ensure system integrity.

Profi-Tipp: Keep your installation media and product key in a secure location after completing the installation, as they might be needed for future system recoveries or reinstallations.
Step 5: Verify Installation and Activate License
Successfully installing Windows involves more than just completing the initial setup; you must verify your system’s integrity and activate your license to ensure full functionality and legal compliance. This critical phase confirms your operating system is genuine and fully operational.
Windows activation requires precise verification steps to guarantee system authenticity and access to all features. You’ll want to confirm several key elements during this process:
- Check system meets activation requirements
- Verify network connectivity
- Ensure correct Produktschlüssel is entered
- Validate system date and time settings
- Prepare your license documentation
Proper license activation protects your system and ensures ongoing Microsoft support.
Follow these comprehensive activation steps:
- Öffnen Sie Windows-Einstellungen
- Navigate to Update and Security section
- Wählen Sie Freischaltung Registerkarte
- Click “Change product key” if needed
- Enter your genuine product key
- Wait for system verification
- Confirm successful activation status
Professional users should carefully document their activation process to maintain clear records. Some organizations use Key Management Service for streamlined activation, which provides additional verification mechanisms.
Profi-Tipp: Always keep your original product key and purchase receipt in a secure digital and physical location for potential future troubleshooting or system recovery.
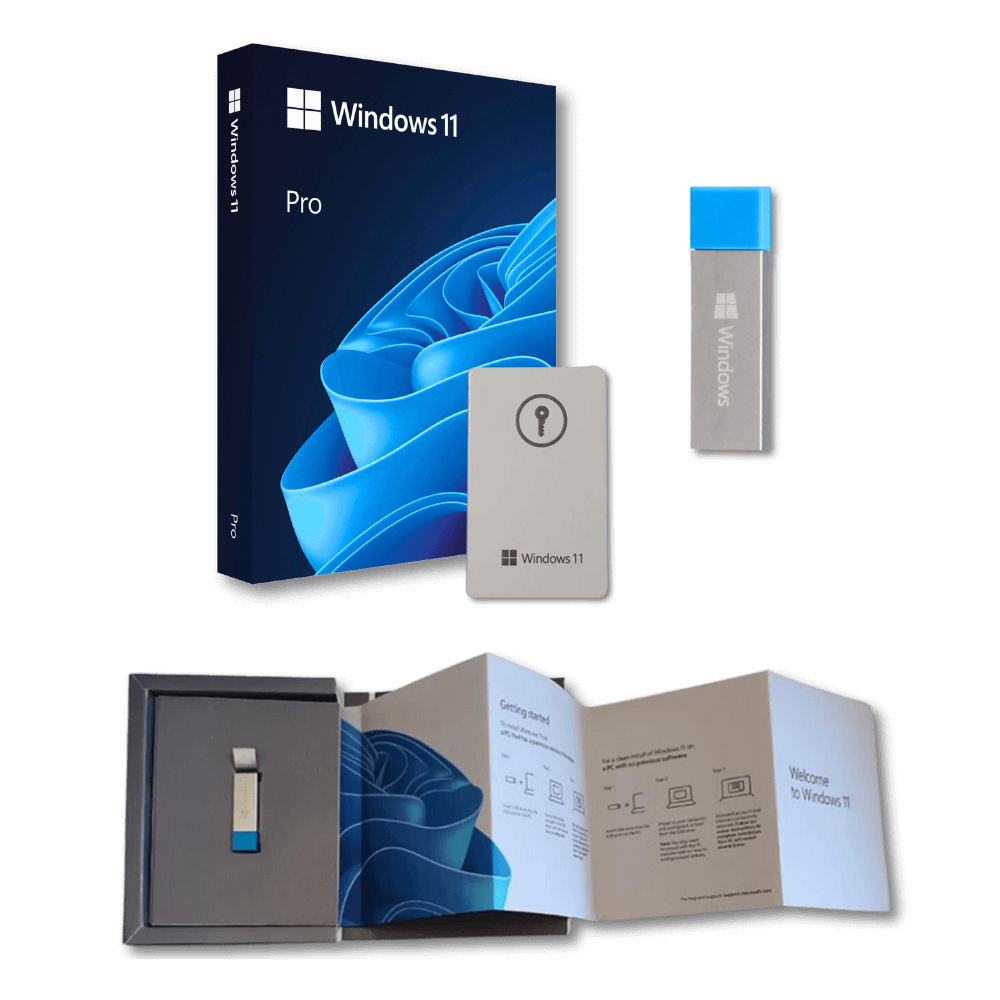
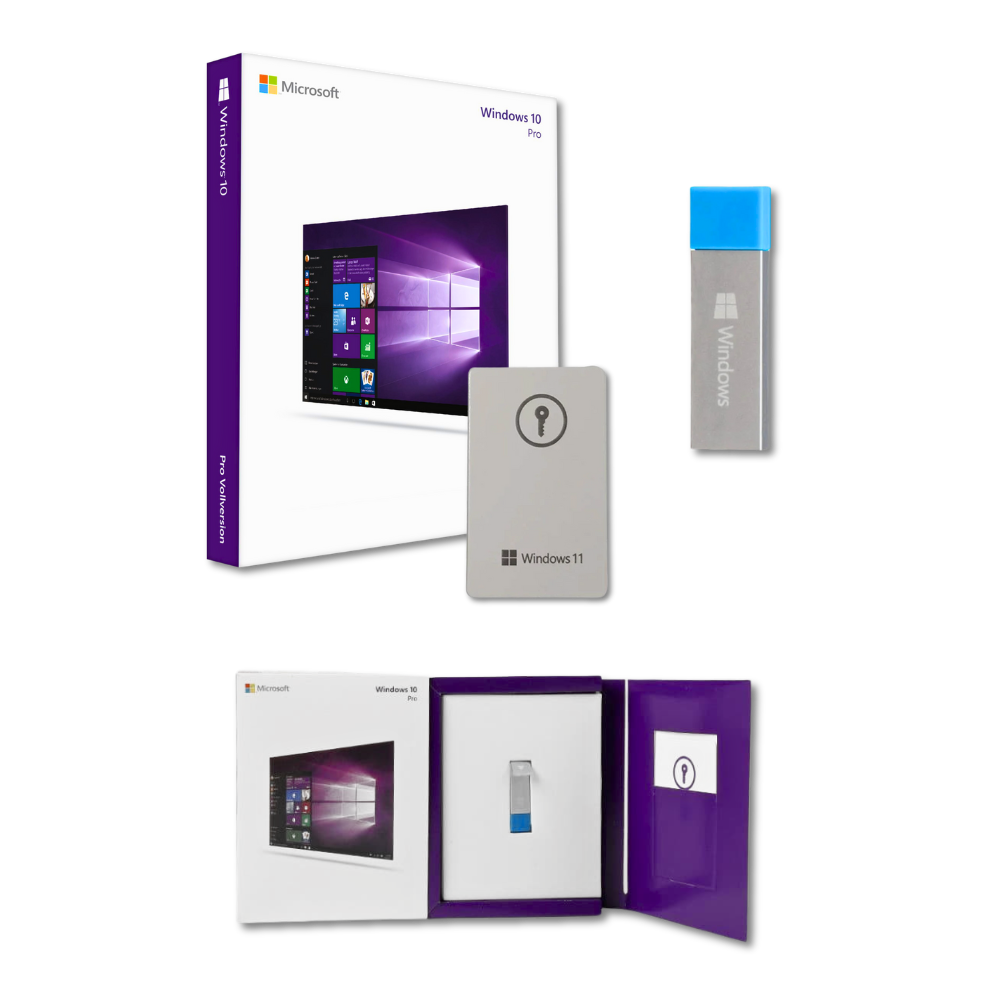
Secure Your Windows Installation with Genuine Licenses from Operacinesistema
Installing Windows can be challenging when it comes to securing a genuine license and ensuring your setup is both legal and safe. The guide highlights crucial steps like acquiring an official Windows license, creating reliable installation media, and activating your product key properly. Without a legitimate license, you risk system instability, security vulnerabilities, and activation issues that could disrupt your workflow or personal use.
Avoid these common pitfalls by purchasing authentic Windows keys from a trusted provider. At Operacinesistema, we specialize in delivering original Windows 10 and Windows 11 Pro digital licenses and physical USBs—designed to meet your specific installation needs. Whether you need an OEM or retail license, our platform guarantees fast and secure delivery, complete with comprehensive support and refund options if unopened.
Experience peace of mind for your Windows setup by choosing genuine products. Visit unsere Kassenseite now to secure your official Windows license. Act today to prevent activation headaches and ensure your system runs smoothly with authentic Microsoft software from Operacinesistema.
Häufig gestellte Fragen
How do I obtain a genuine Windows license for my installation?
To obtain a genuine Windows license, purchase a license directly from Microsoft’s official website or an authorized reseller. Ensure that you keep your license key and purchase documentation secure for future reference.
What are the steps to create bootable Windows installation media?
To create bootable Windows installation media, download the Windows Media Creation Tool, connect your USB drive, and follow the prompts to select your USB as the destination. Make sure your USB drive has at least 8GB of storage and is properly formatted before starting the process.
How can I back up my data before installing Windows?
To back up your data, connect an external hard drive or use a cloud service, then transfer all important files such as documents, photos, and personal data. Confirm that the backup is successful before proceeding with the new installation to avoid data loss.
What BIOS settings should I configure before installing Windows?
Before installing Windows, access your BIOS setup and ensure you set the boot order to prioritize your USB or DVD drive. Additionally, enable features like Secure Boot and disable fast startup to facilitate a smoother installation process.
How do I verify that Windows has been installed and activated correctly?
To verify that Windows is installed and activated correctly, navigate to the Update and Security section in Windows Settings, then check the Activation tab. Enter your product key if necessary and ensure the status indicates your Windows is activated properly for full functionality.